Okay... So I did a search for this before I installed my New Integrated Tail Light, and couldnt find a how to for it...
This is my Write up with pics fo help anyone out that is doing this install.
Excuse the crudeness of my descriptions, I am not a mechanic, just a regular guy doing a write up for other regular guys that need help with putting in a tail light.
--------------------------------------------------------------------
Tools you WILL NEED...
5mm Allen Wrench
4mm Allen Wrench
Small Phillips Head Screwdriver
Tools you may need
Small Flat head Screwdriver
Needle Nose Pliers
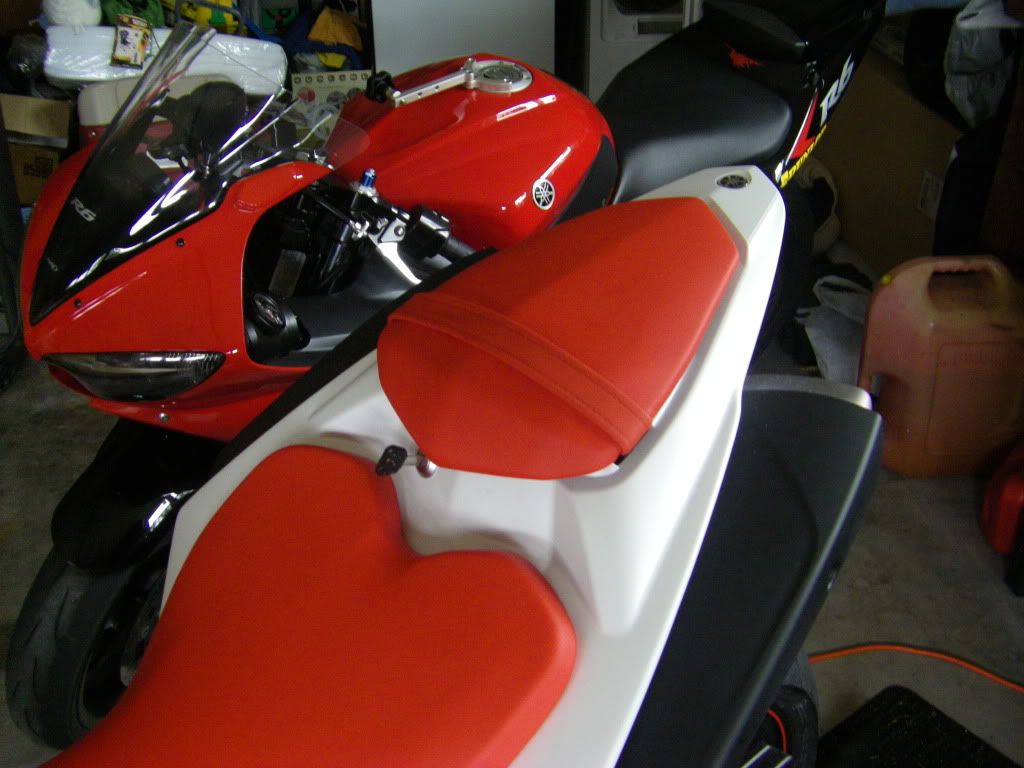
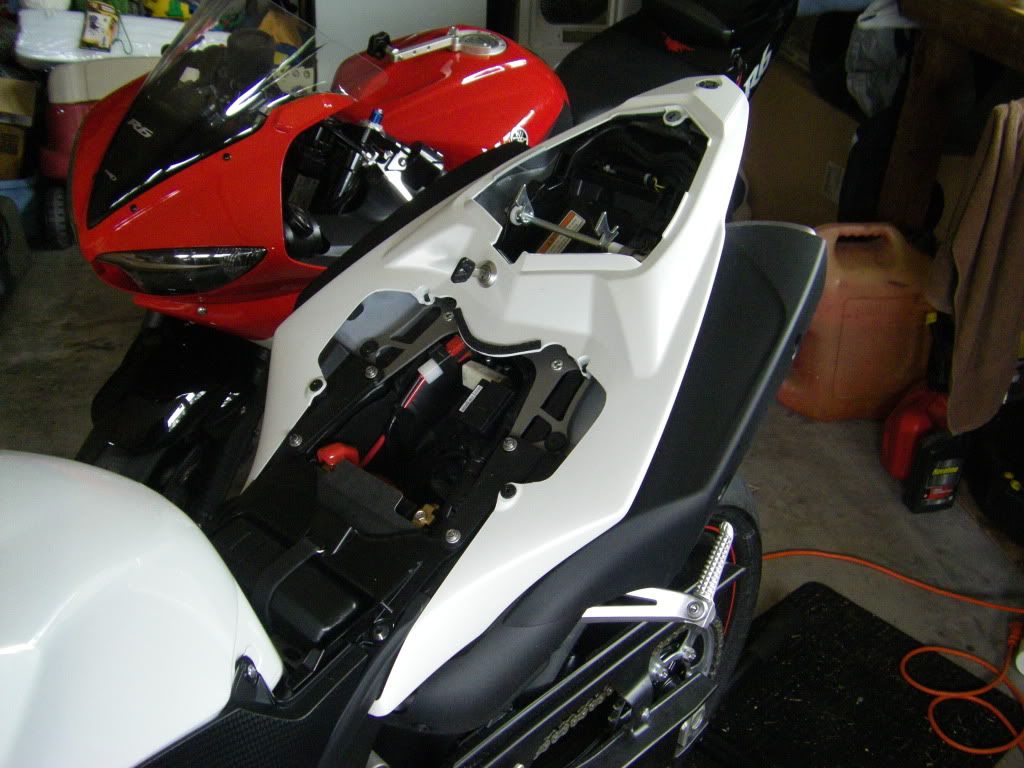
Here is my bike... Before anything is done
![Image]()
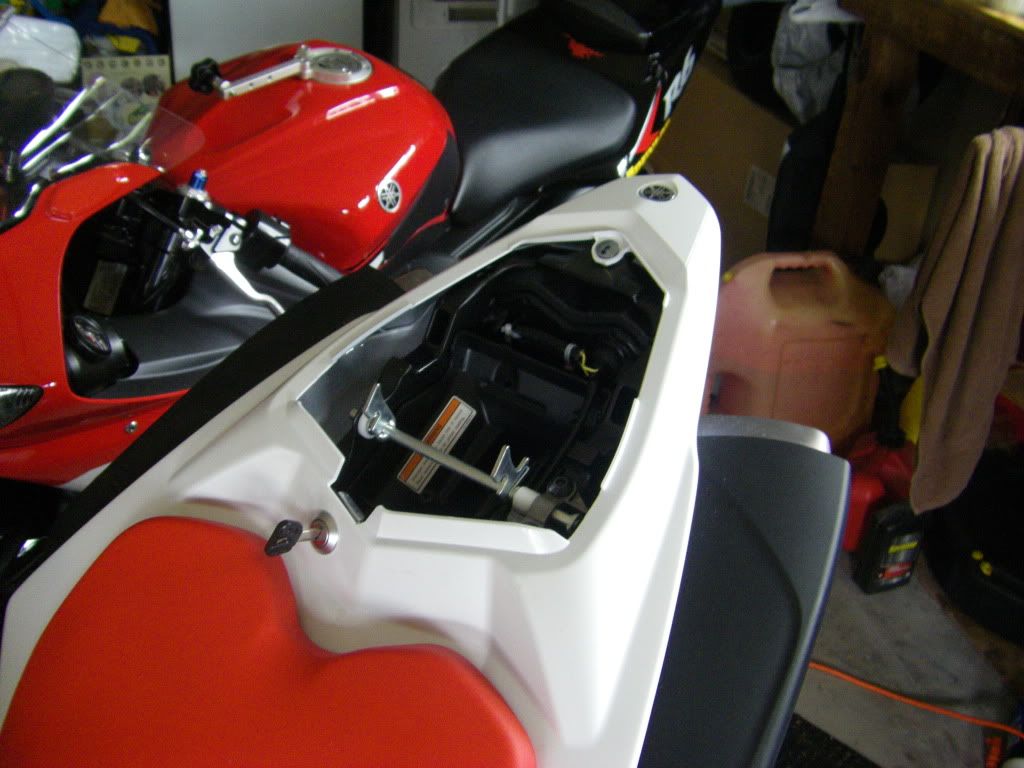
Insert Key into back seat lock, remove back seat
![Image]()
Remove Front (drivers) Seat with 5 mm allen wrench
![Image]()
Remove the Push Pins from under the undertail (you may have to use the small flat head screwdriver to pop it out
![Image]()
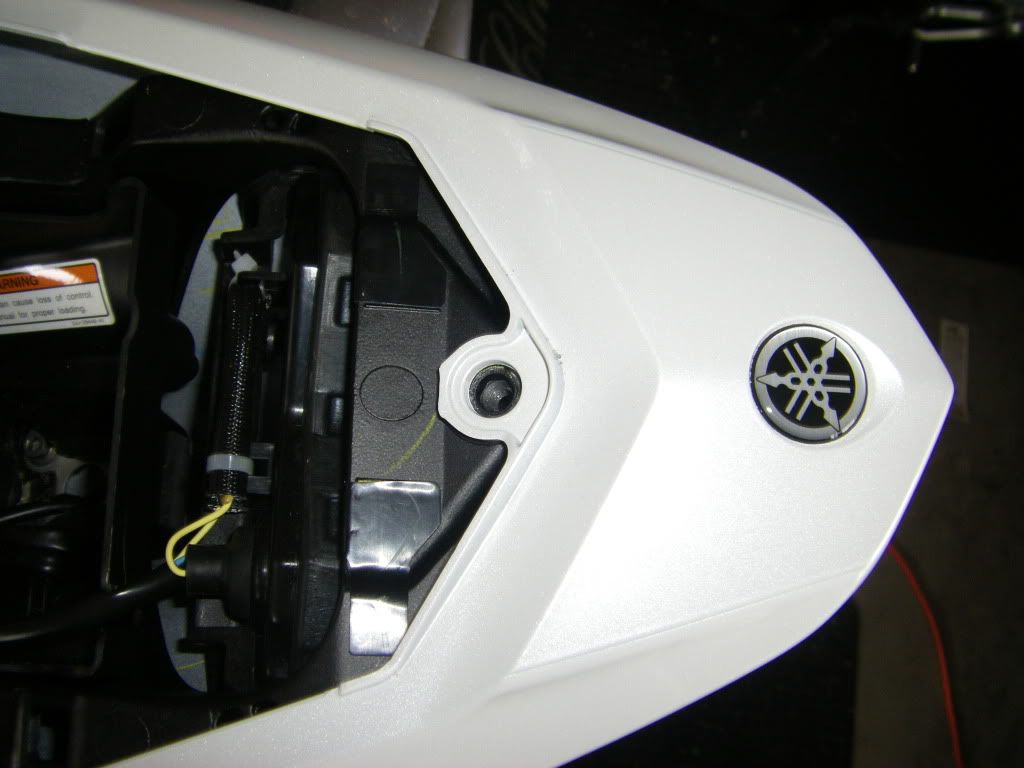
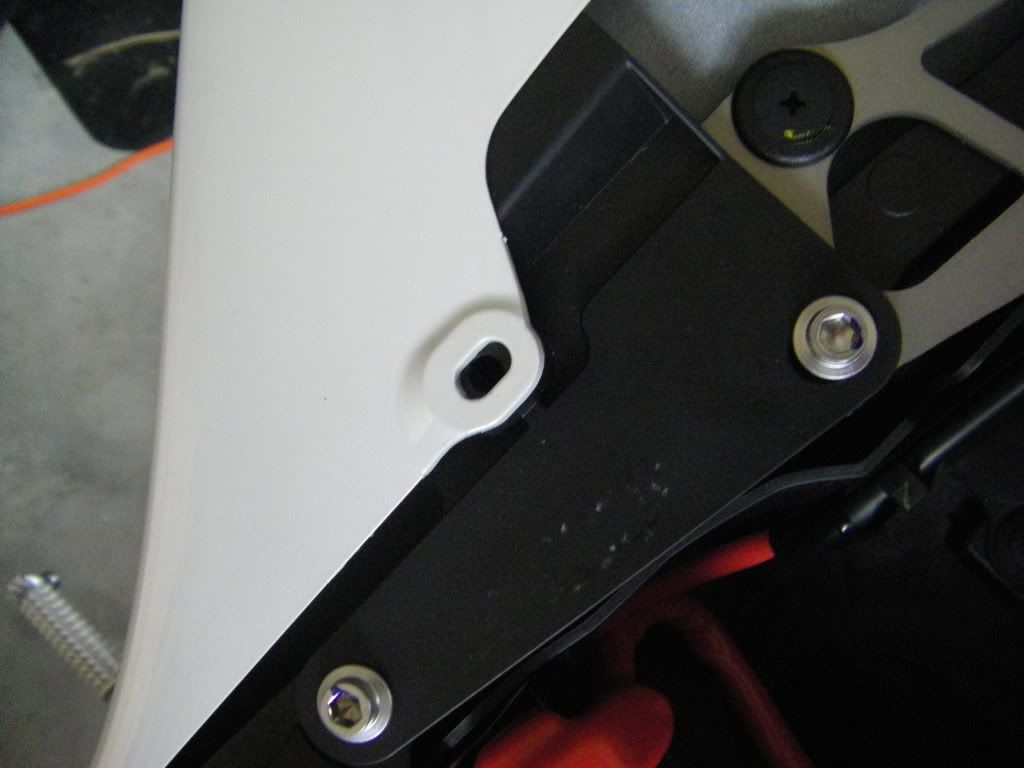
Take the bolt out from the TOP of the tail peice with 4 mm allen wrench
![Image]()
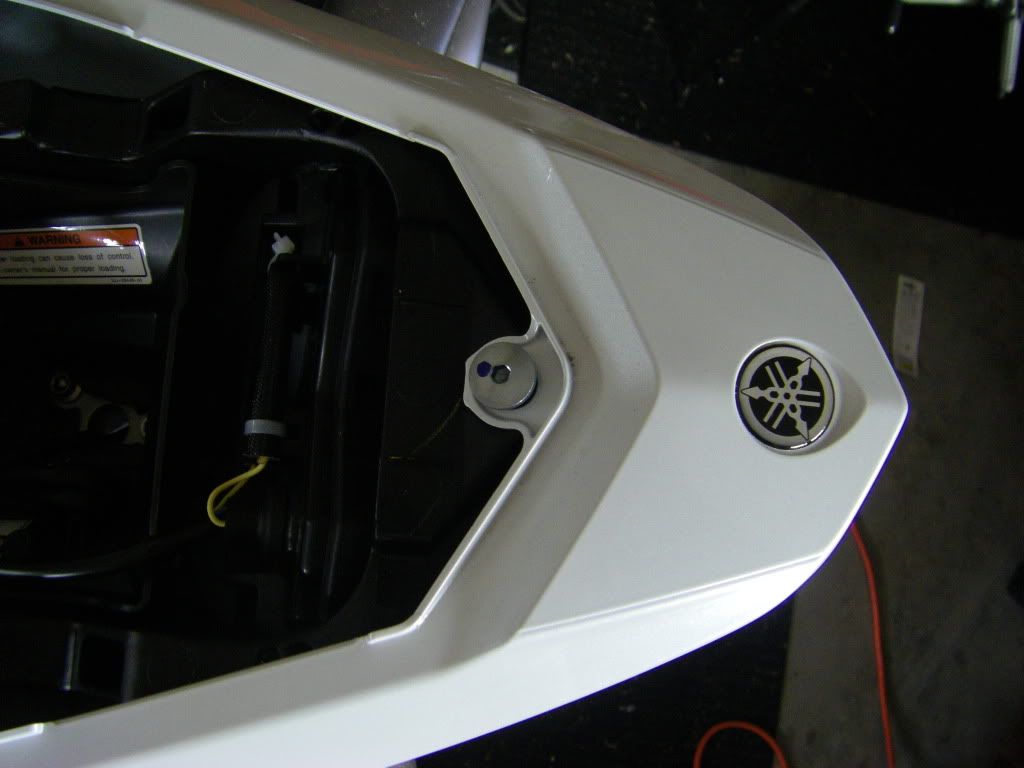
Pic with out the bolt
![Image]()
Take out these two push pins with a phillips head screwdriver
![Image]()
![Image]()
Another look at where they're at
![Image]()
What it looks like without the pushpins
![Image]()
![Image]()
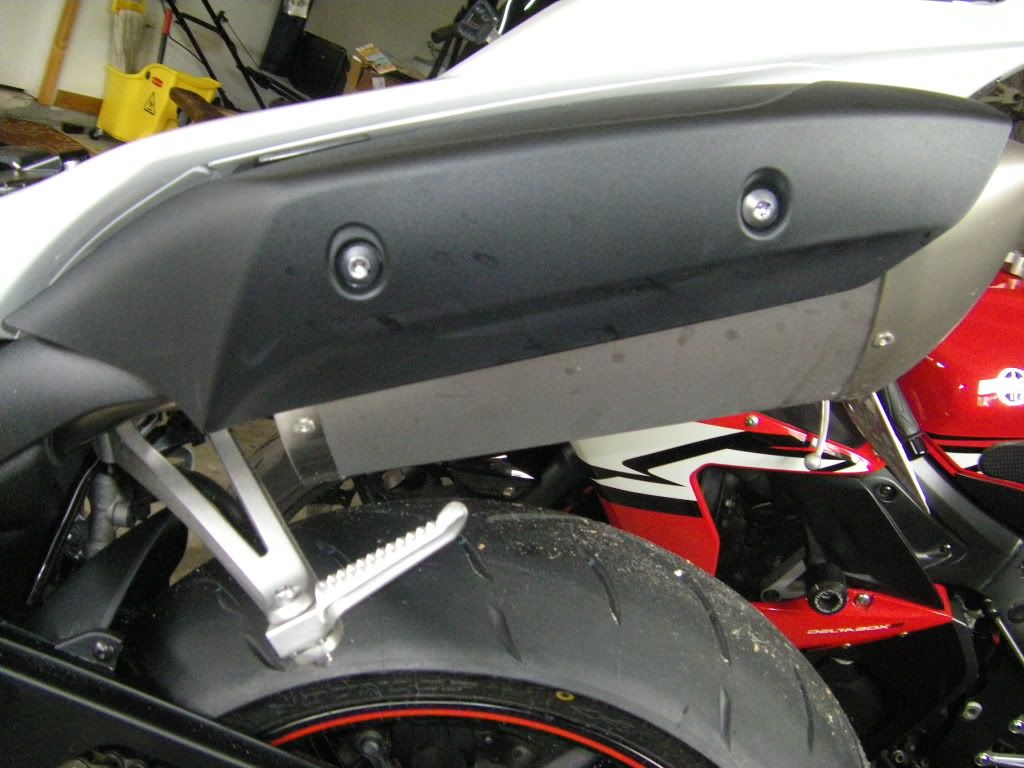
If you have stock cans... Remove these plastic covers with a 5 mm allen wrench
![Image]()
![Image]()
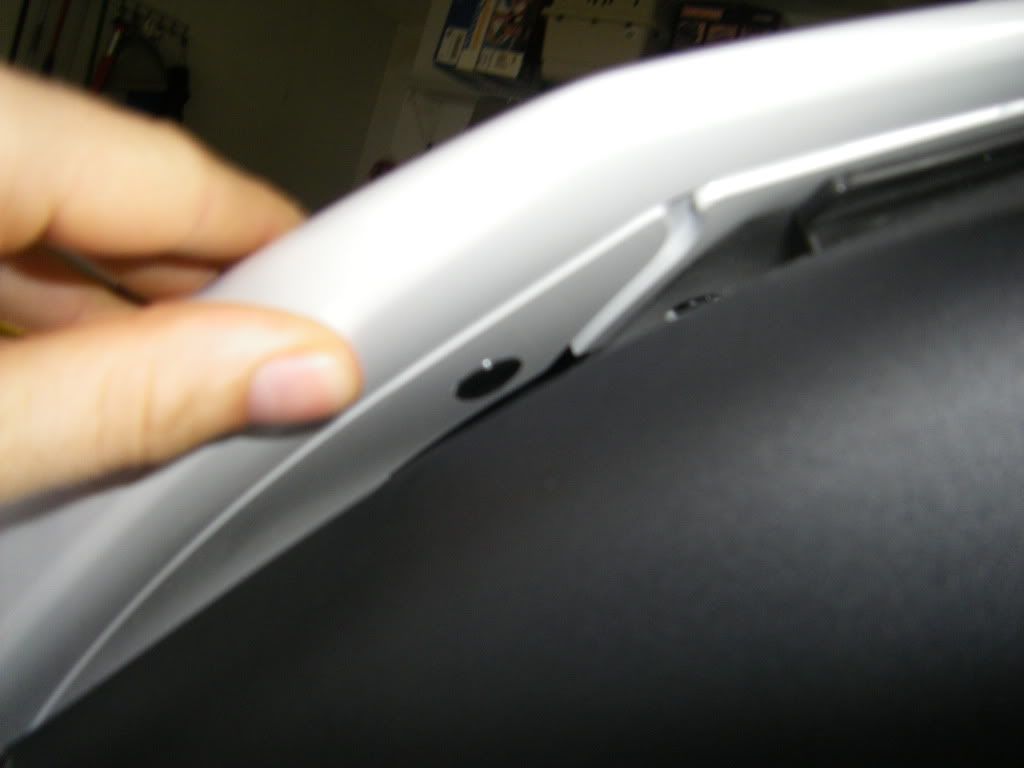
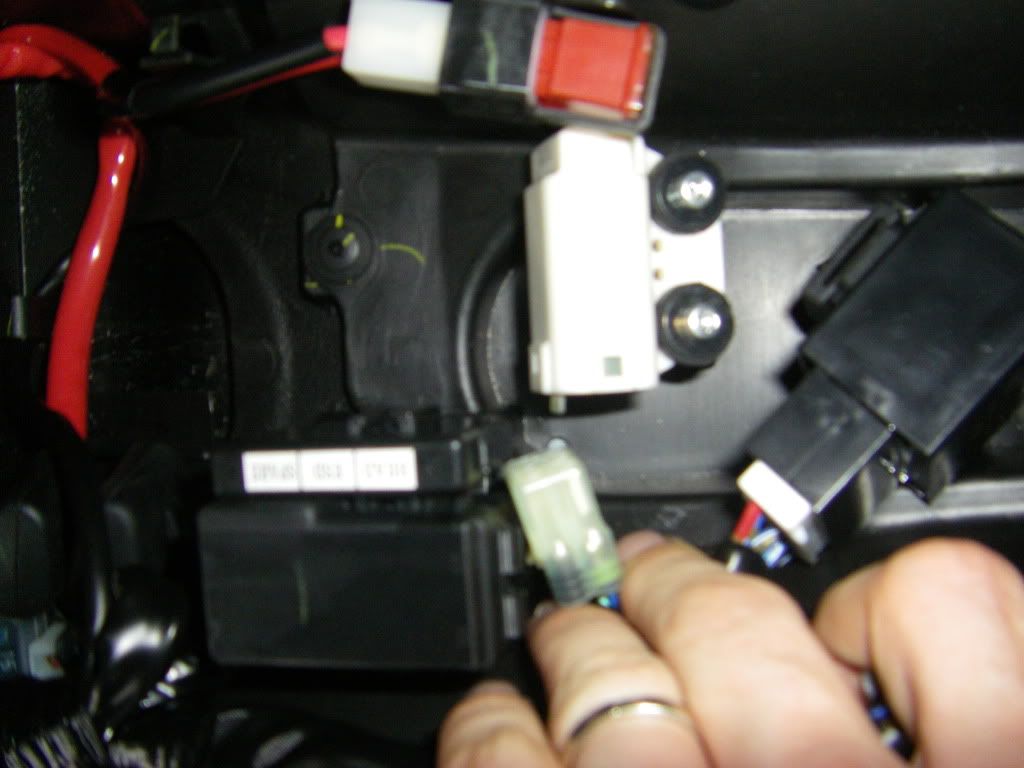
Remove push pin from above the exhuast, and below the undertail on each side *right by my thumb*
(you might need a small screw driver or even a very thin allen wrench to poke the center of it out)
![Image]()
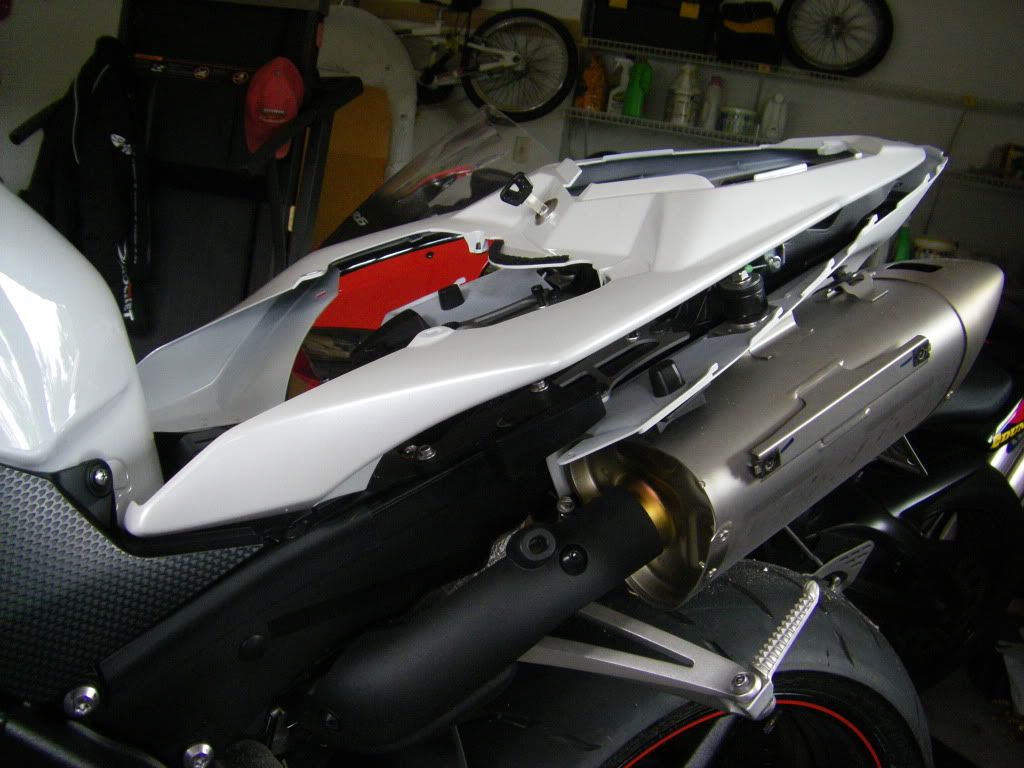
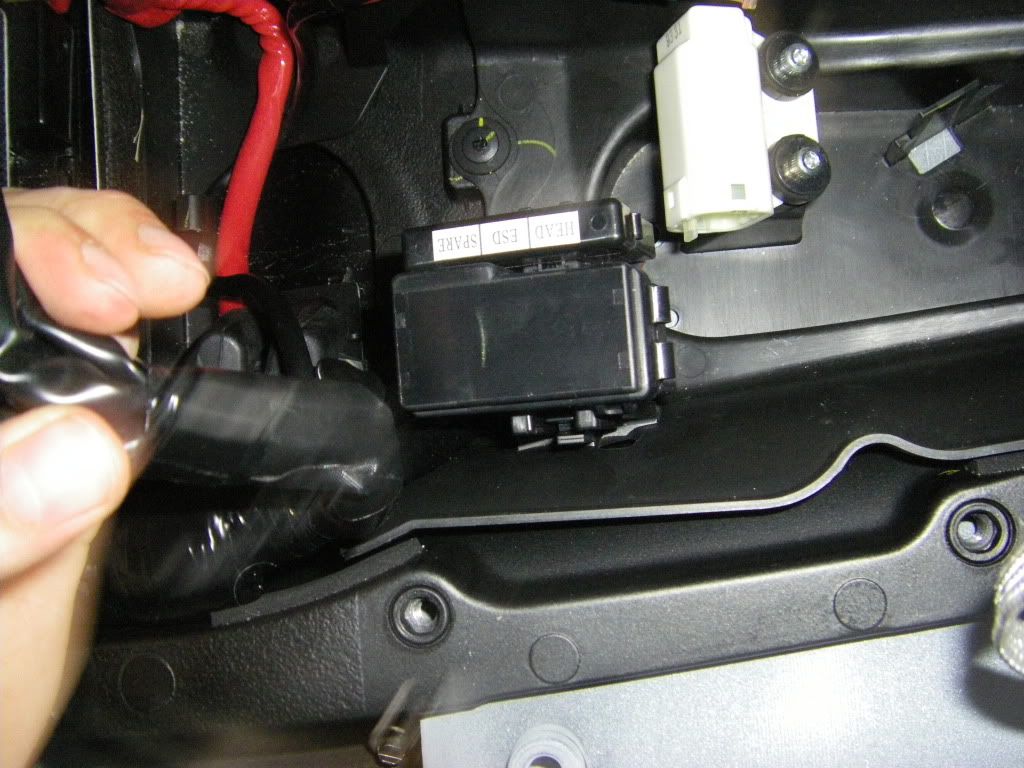
Push the top tail peice UP and toward the BACK of the bike * the direction I am pionting* Take note: the the bottom corners of the tail peice over laps the under tail and you have to pry on it A LITTLE to come over the undertail, try not to FORCE it, but you will have to flex it a little bit to make it come off.
![Image]()
Will look like THIS once it pops off
![Image]()
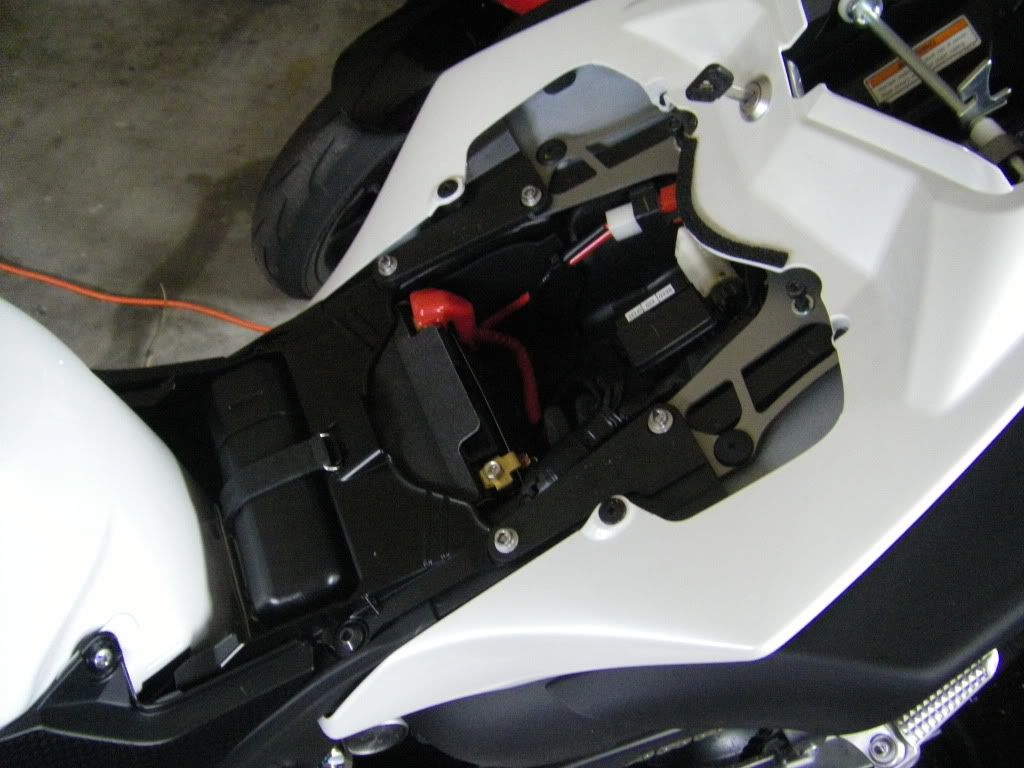
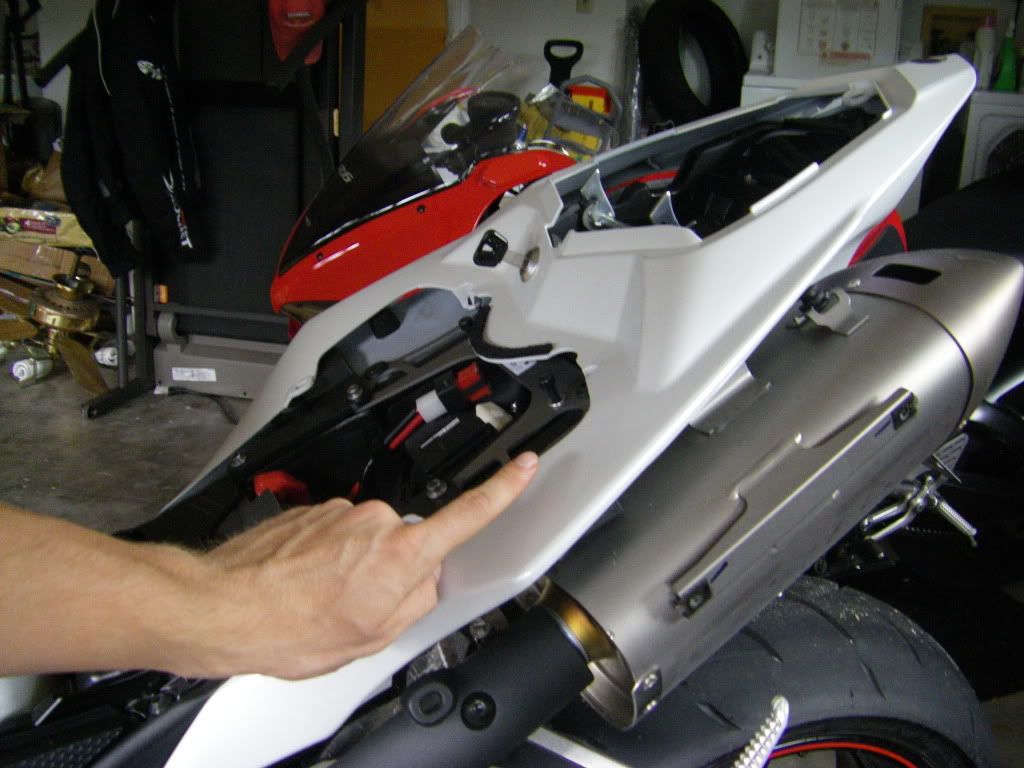
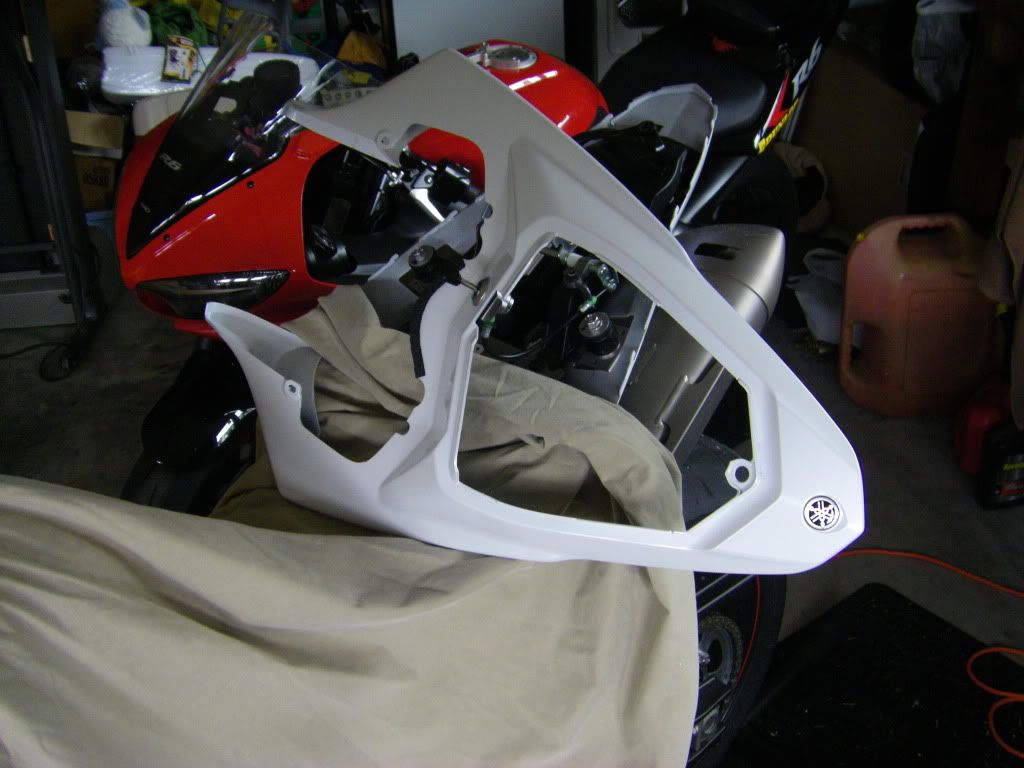
Pull your tail fairing off. I placed a sheet on the tank and frong seat area to keep from scratching my fairing.
![Image]()
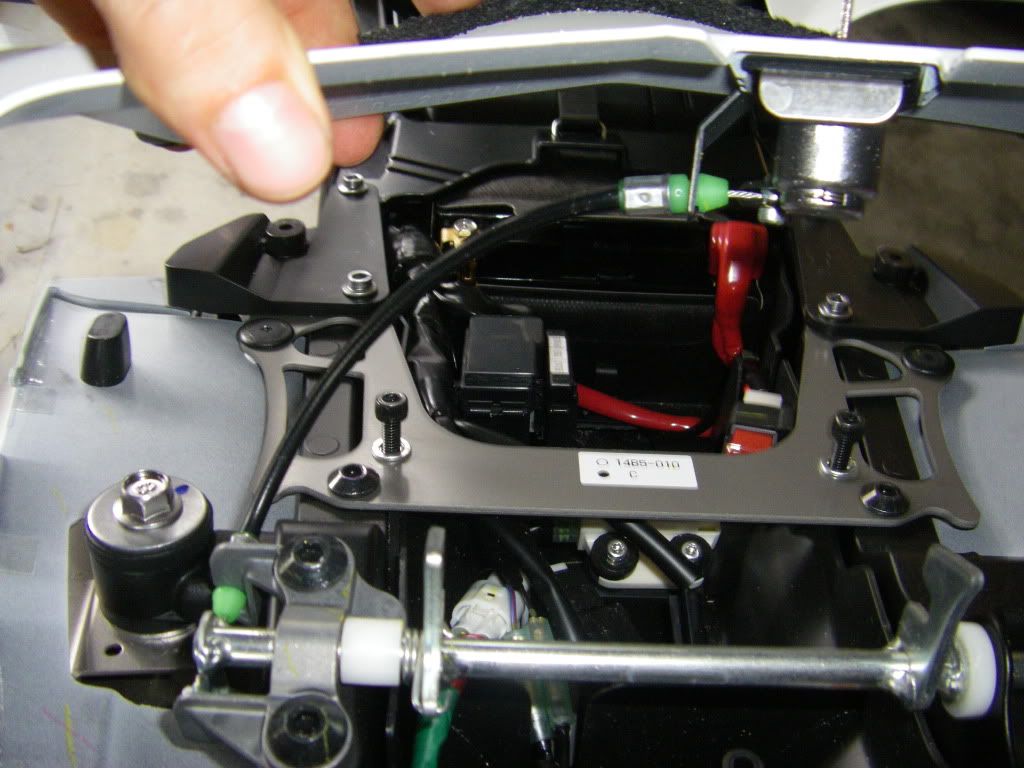
Note: Your Rear Seat locking mechanism will STILL BE ATTACHED when you pull the fairing off *will look like this *
![Image]()
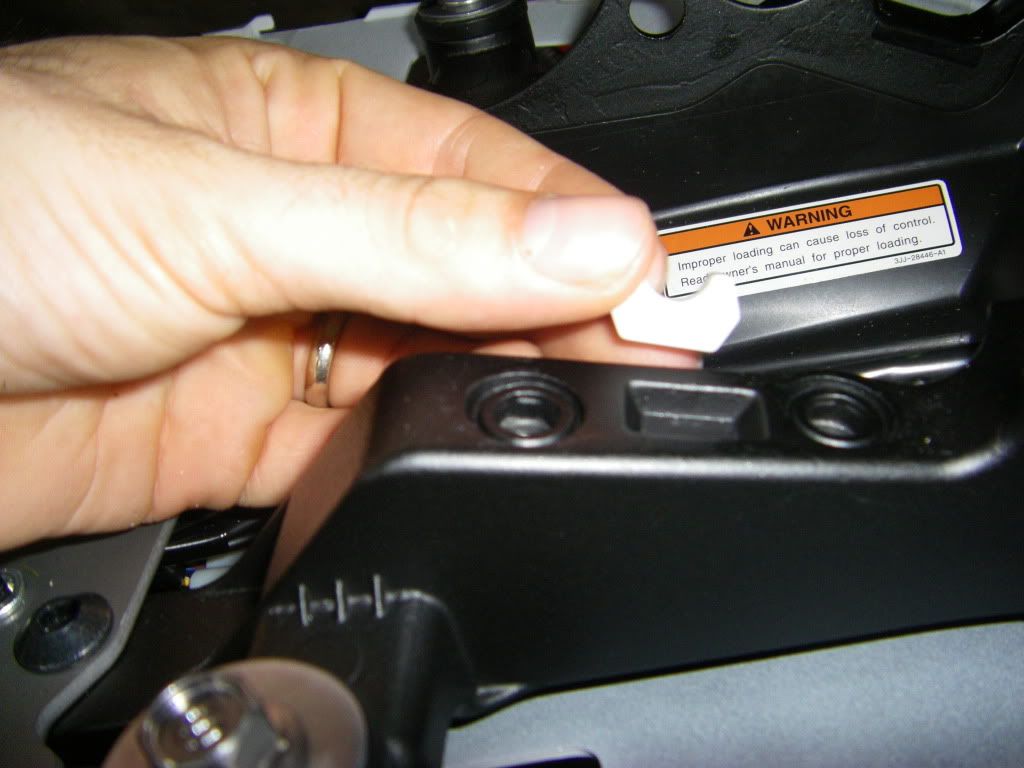
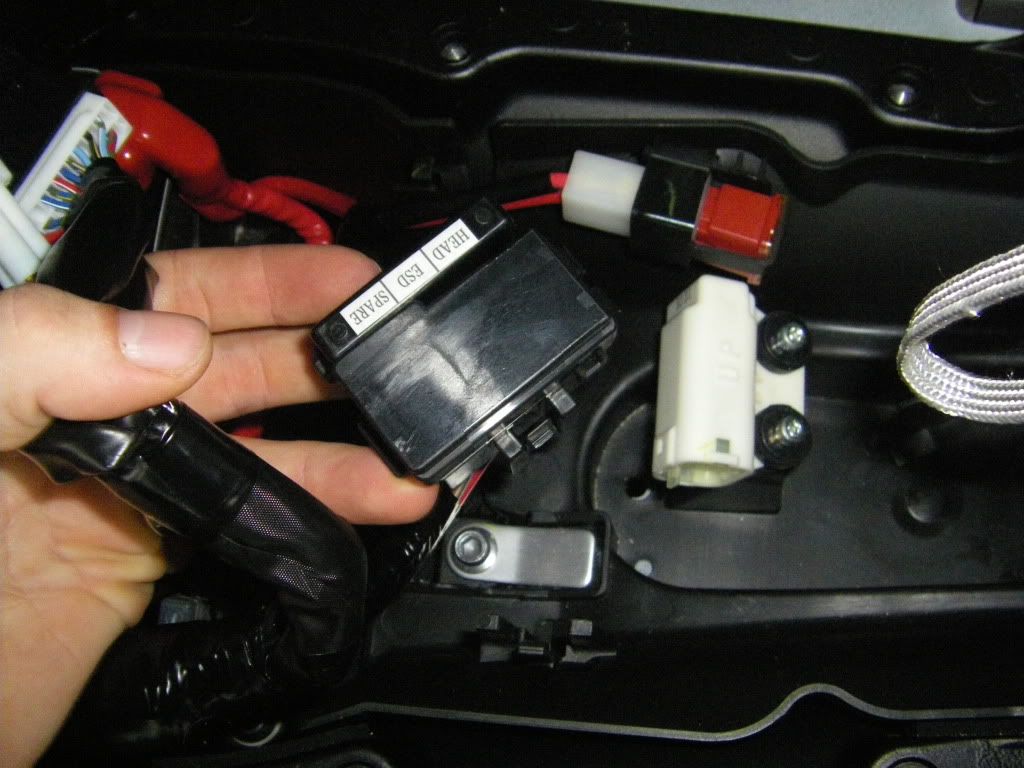
Remove the two bolts from the locking mechanism. ***SEE NOTE IN NEXT STEP BEFORE PULLING LOCKING MECHANISM OUT!!!***
![Image]()
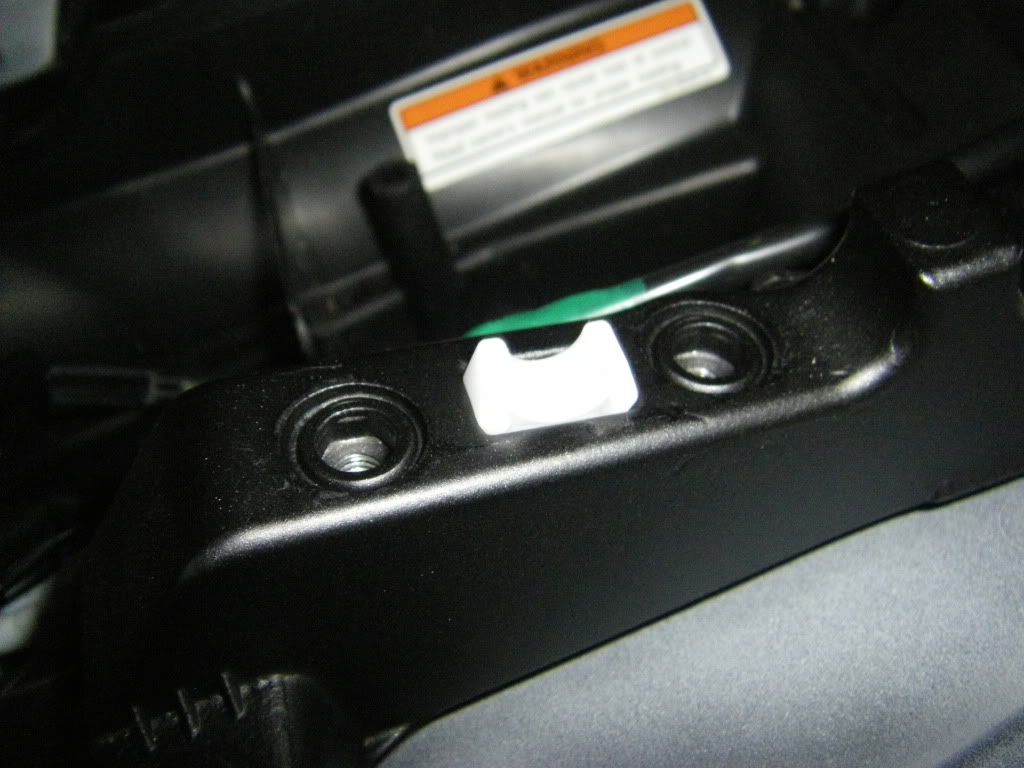
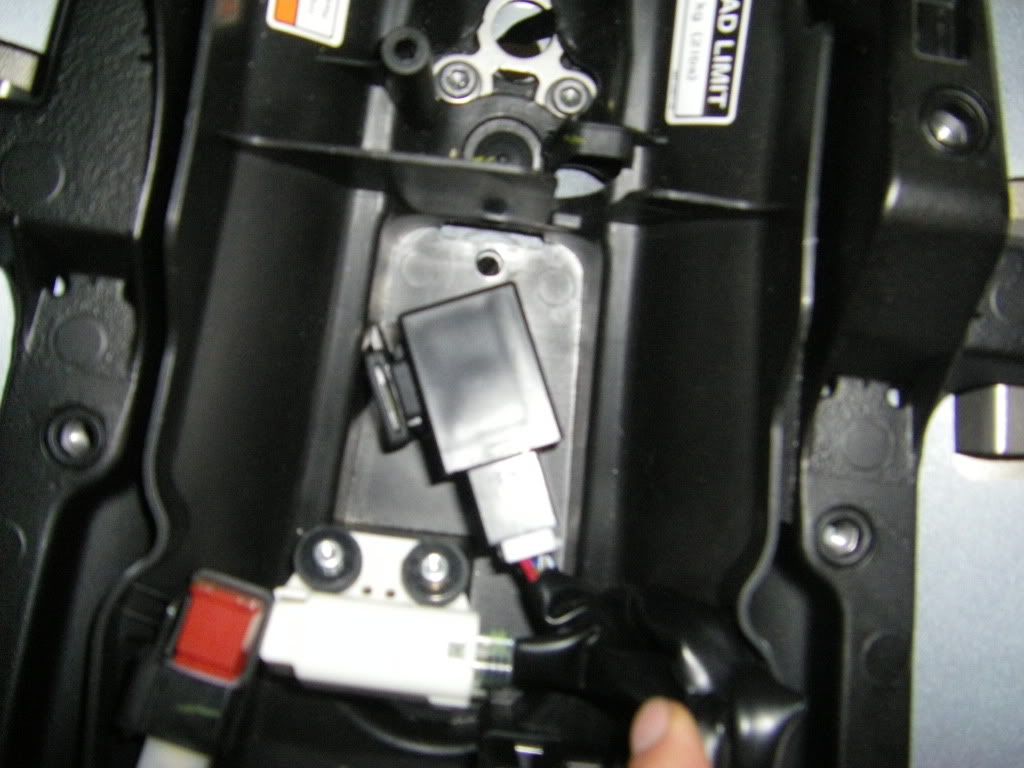
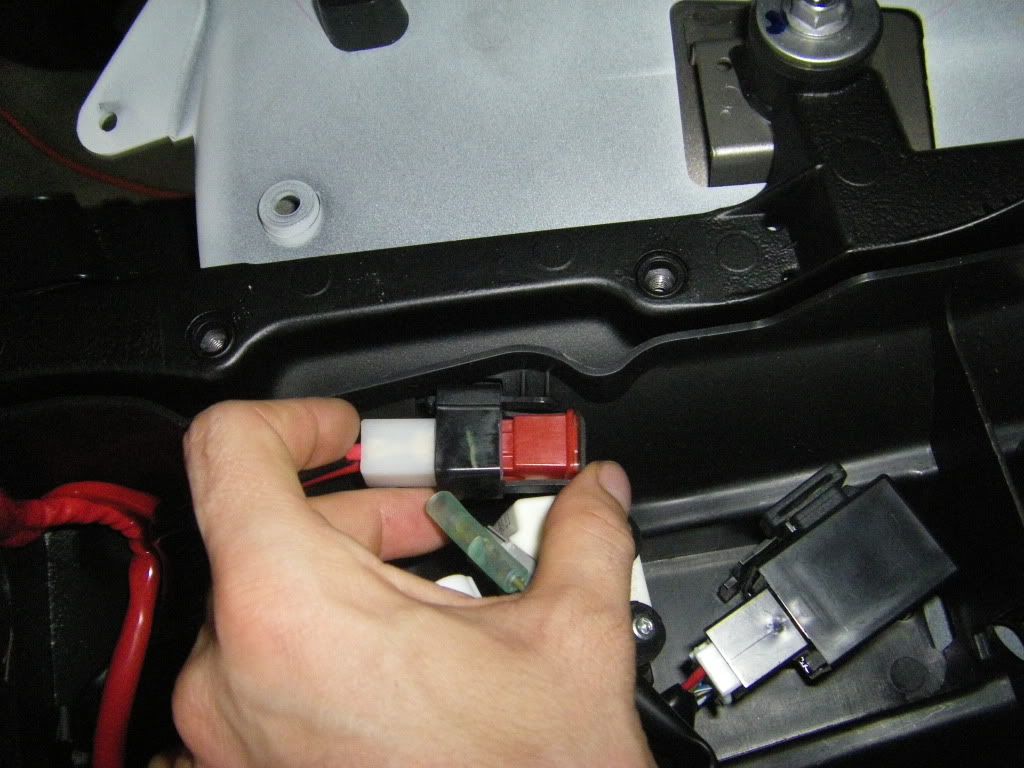
Note : Under the locking mechanism there is a small White plastic spacer. If you're not careful, it will fall out when you pull the mech. out. This plastic peice WILL fall into your bike and be hard to find if you're not careful This is what it looks like...
![Image]()
![Image]()
Remove plastic push pins with a philips head screw driver *one on each side*
![Image]()
![Image]()
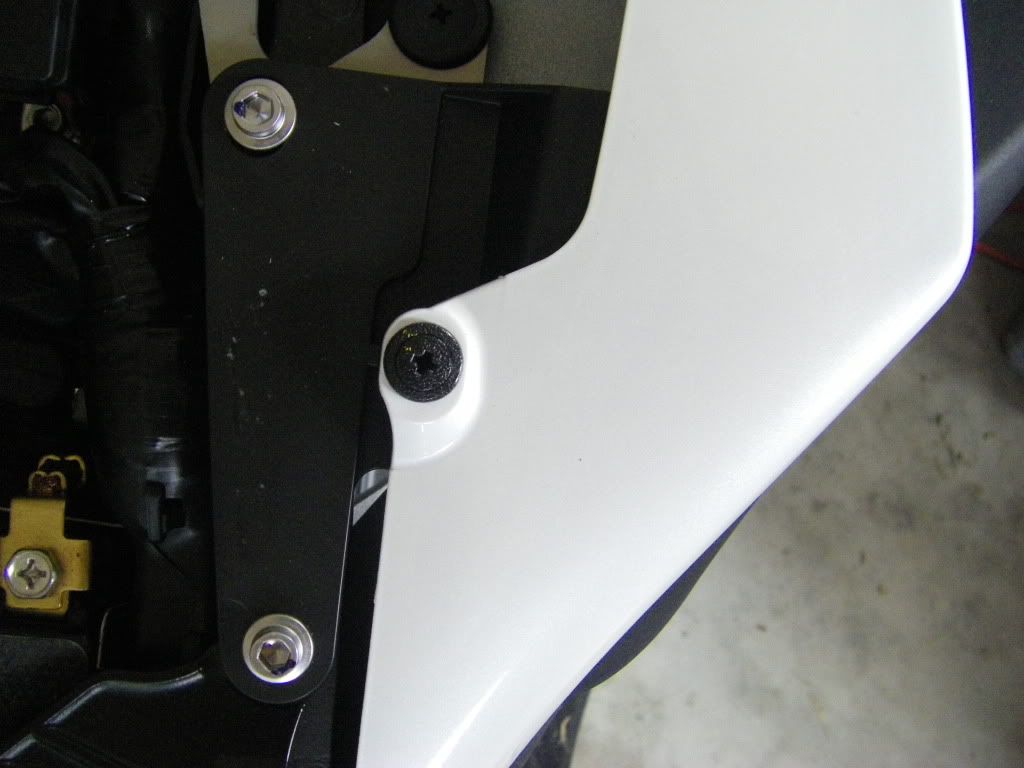
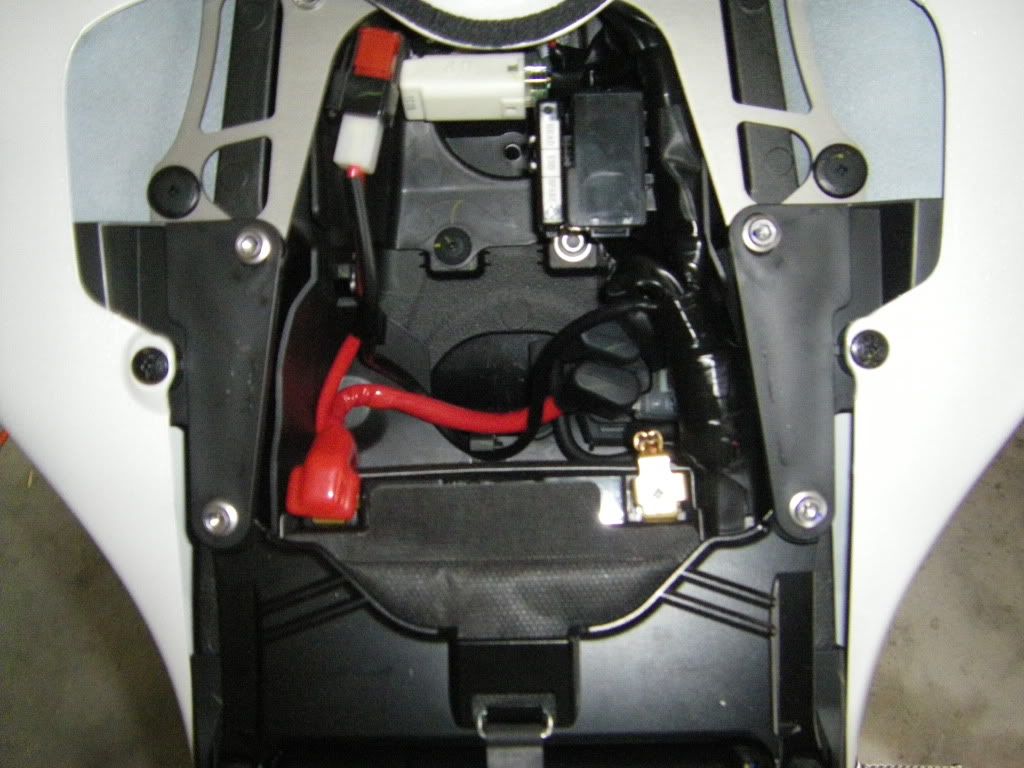
Remove the two black plastic covers *in the center of the pic* by removing the four silver bolts with a 5 mm allen wrench
![Image]()
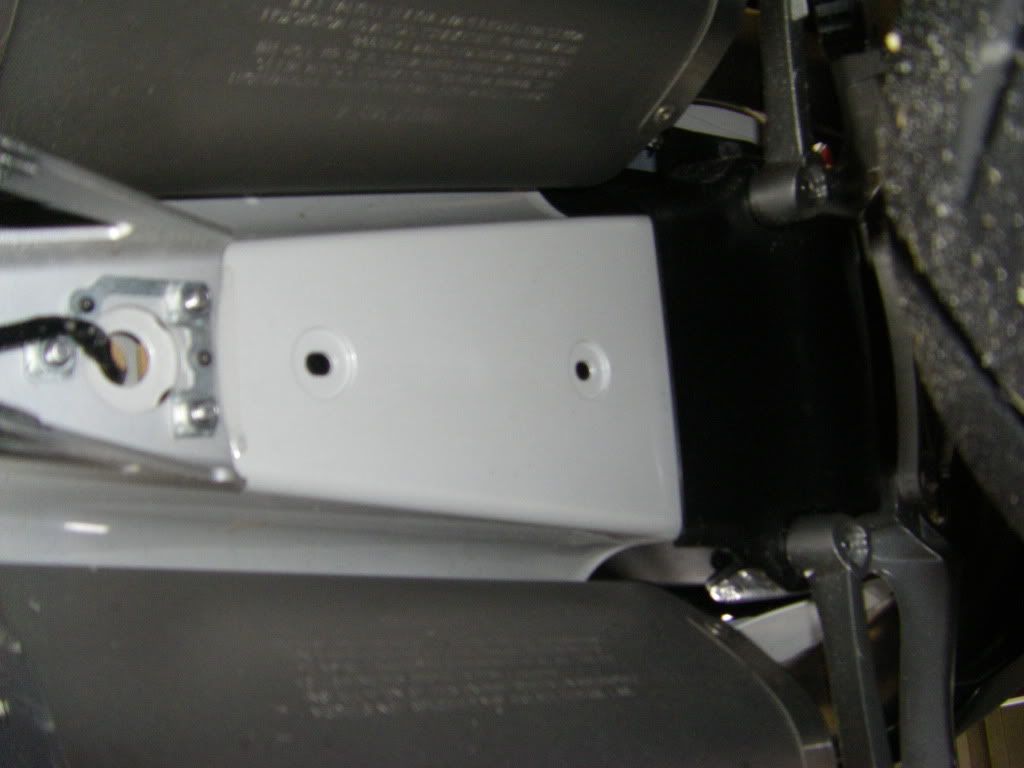
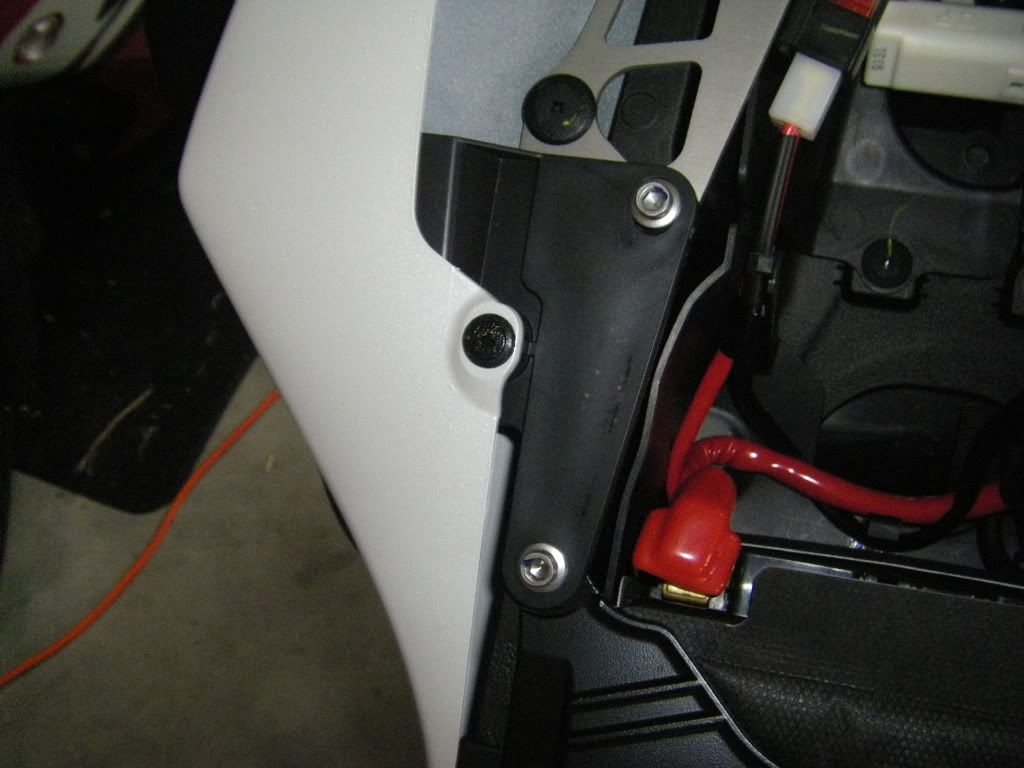
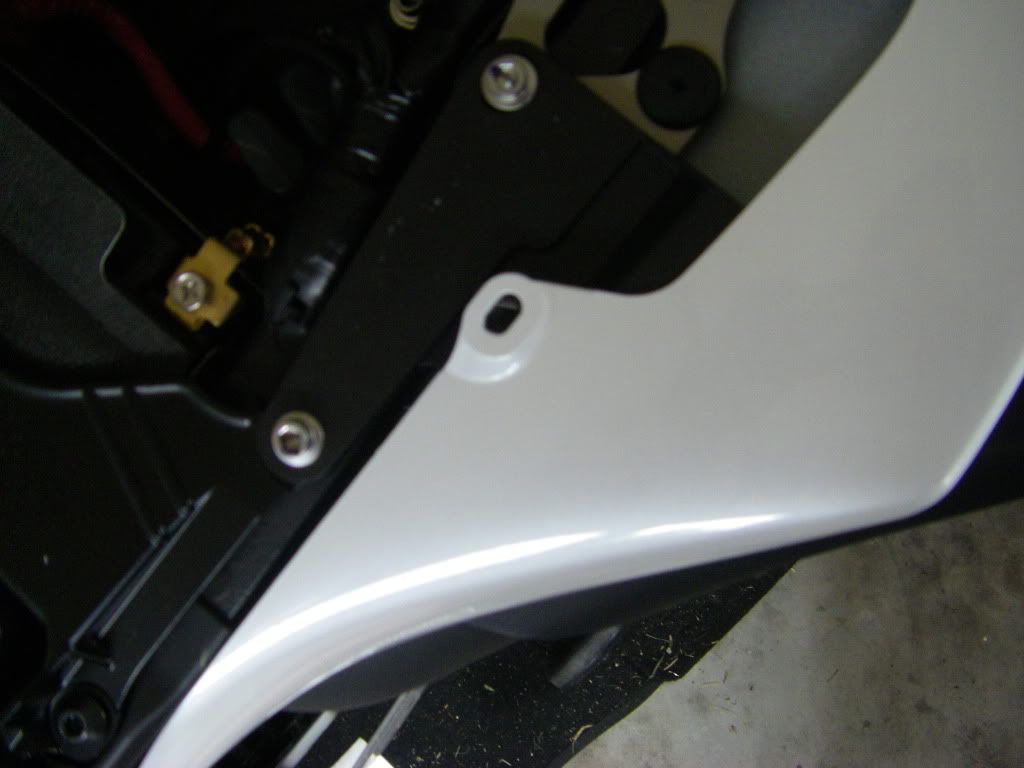
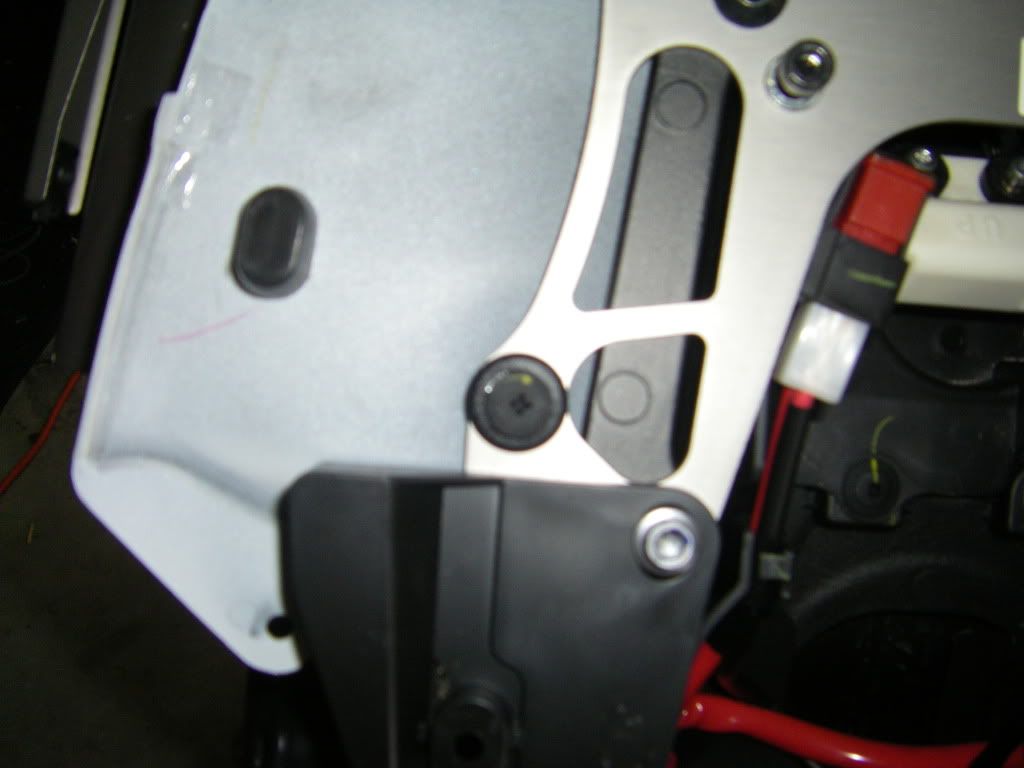
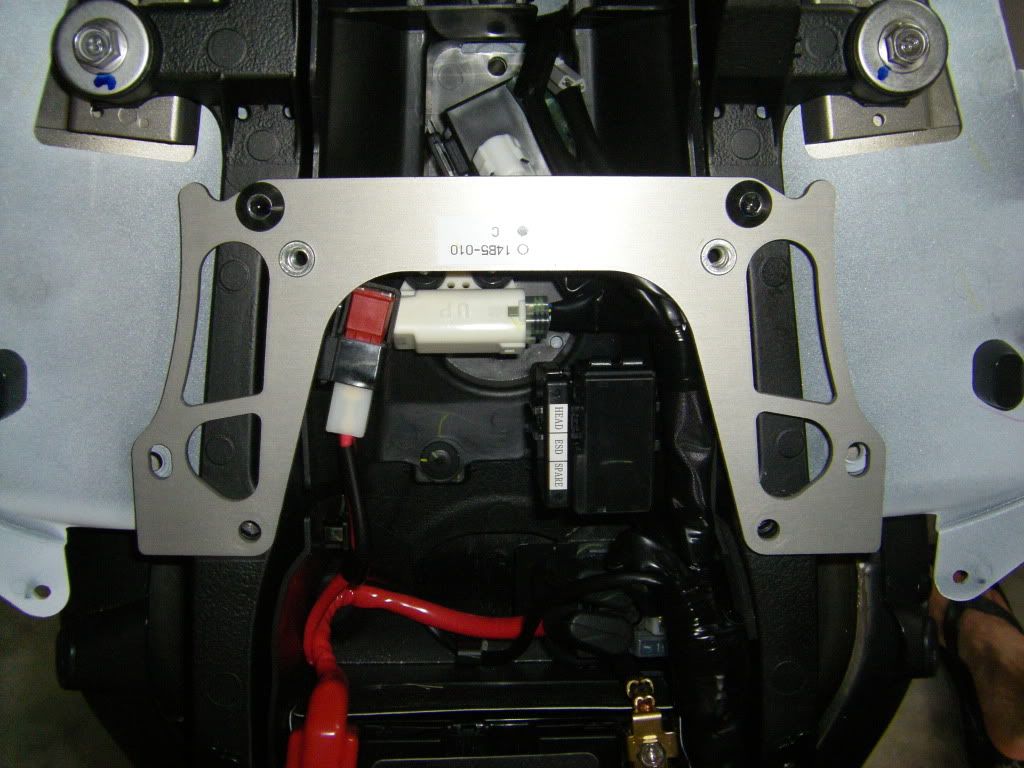
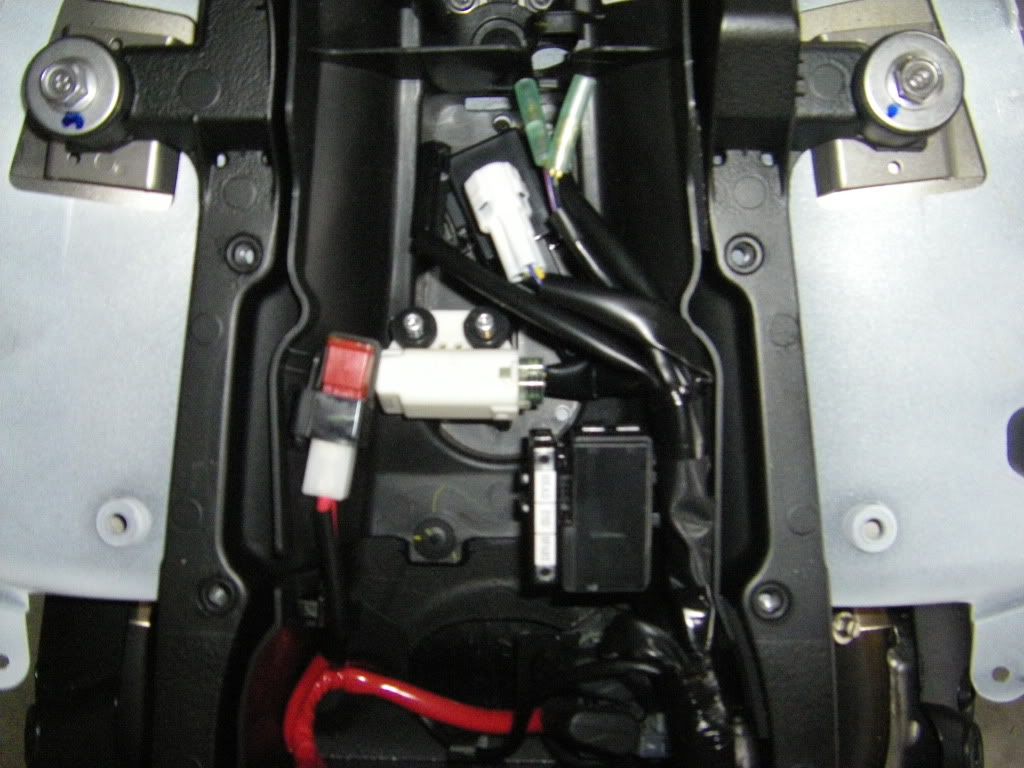
Remove the two black bolts and the aluminum peice
![Image]()
This is my Write up with pics fo help anyone out that is doing this install.
Excuse the crudeness of my descriptions, I am not a mechanic, just a regular guy doing a write up for other regular guys that need help with putting in a tail light.
--------------------------------------------------------------------
Tools you WILL NEED...
5mm Allen Wrench
4mm Allen Wrench
Small Phillips Head Screwdriver
Tools you may need
Small Flat head Screwdriver
Needle Nose Pliers
Here is my bike... Before anything is done
Insert Key into back seat lock, remove back seat
Remove Front (drivers) Seat with 5 mm allen wrench
Remove the Push Pins from under the undertail (you may have to use the small flat head screwdriver to pop it out
Take the bolt out from the TOP of the tail peice with 4 mm allen wrench
Pic with out the bolt
Take out these two push pins with a phillips head screwdriver
Another look at where they're at
What it looks like without the pushpins
If you have stock cans... Remove these plastic covers with a 5 mm allen wrench

Remove push pin from above the exhuast, and below the undertail on each side *right by my thumb*
(you might need a small screw driver or even a very thin allen wrench to poke the center of it out)
Push the top tail peice UP and toward the BACK of the bike * the direction I am pionting* Take note: the the bottom corners of the tail peice over laps the under tail and you have to pry on it A LITTLE to come over the undertail, try not to FORCE it, but you will have to flex it a little bit to make it come off.
Will look like THIS once it pops off
Pull your tail fairing off. I placed a sheet on the tank and frong seat area to keep from scratching my fairing.
Note: Your Rear Seat locking mechanism will STILL BE ATTACHED when you pull the fairing off *will look like this *
Remove the two bolts from the locking mechanism. ***SEE NOTE IN NEXT STEP BEFORE PULLING LOCKING MECHANISM OUT!!!***
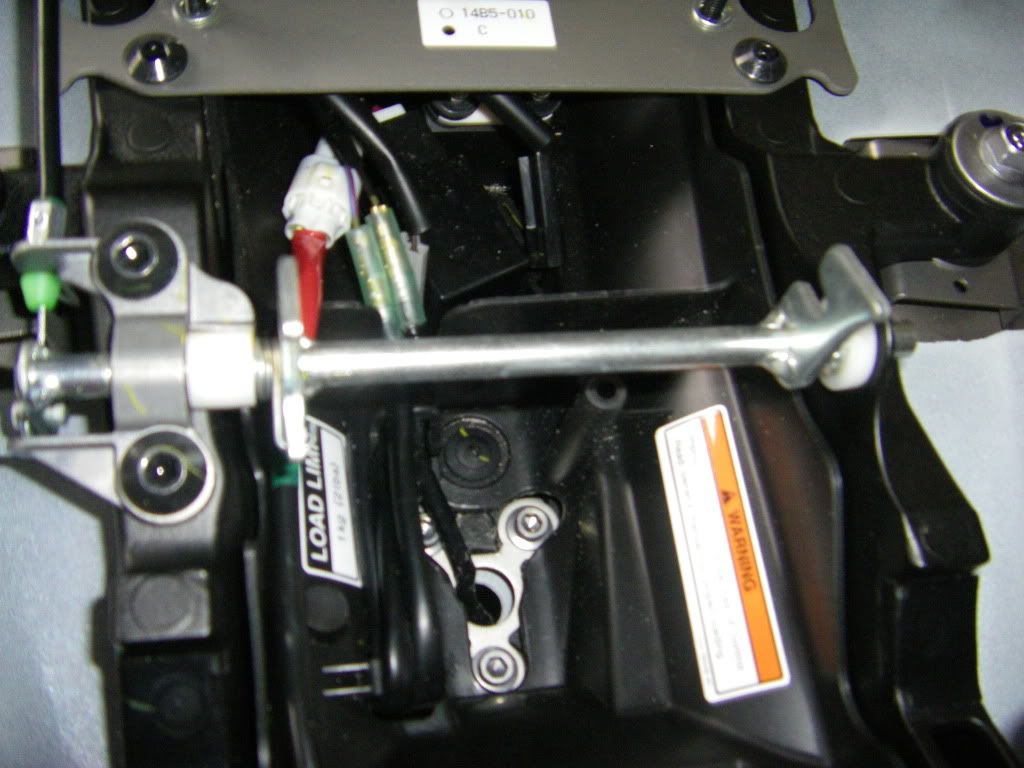
Note : Under the locking mechanism there is a small White plastic spacer. If you're not careful, it will fall out when you pull the mech. out. This plastic peice WILL fall into your bike and be hard to find if you're not careful This is what it looks like...
Remove plastic push pins with a philips head screw driver *one on each side*
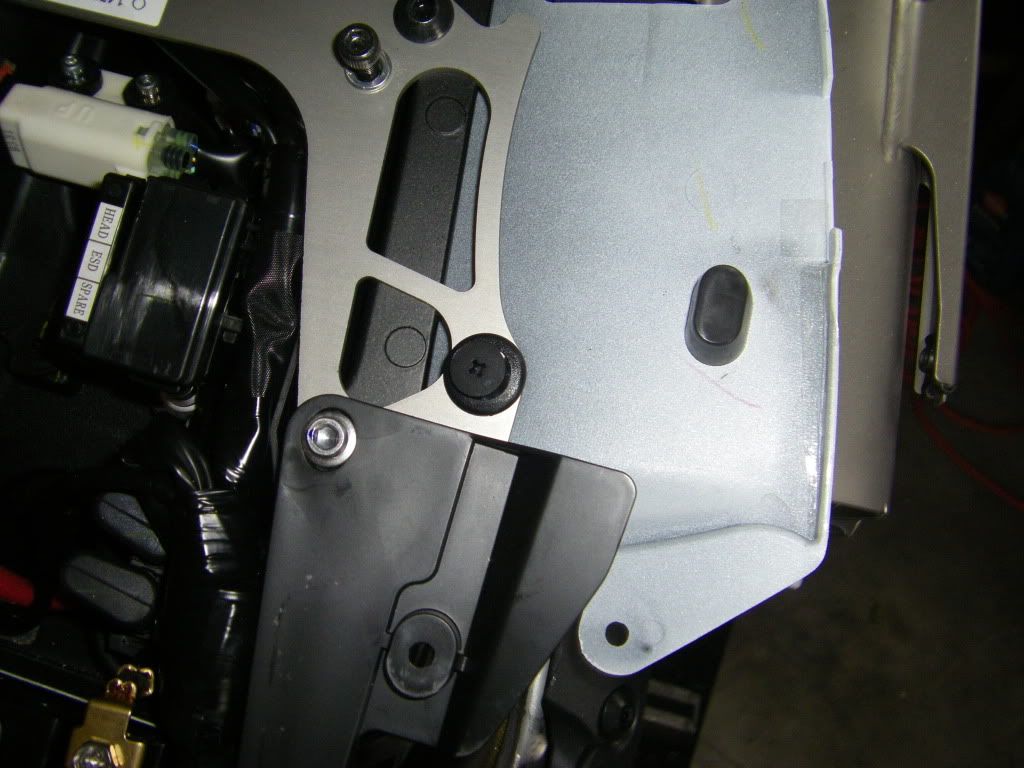
Remove the two black plastic covers *in the center of the pic* by removing the four silver bolts with a 5 mm allen wrench
Remove the two black bolts and the aluminum peice


")