My R1 engine rebuild from start to finish complete w/ pics & comments by me...56k LOL
ok so i only had around 30 mins today so here is what i got done
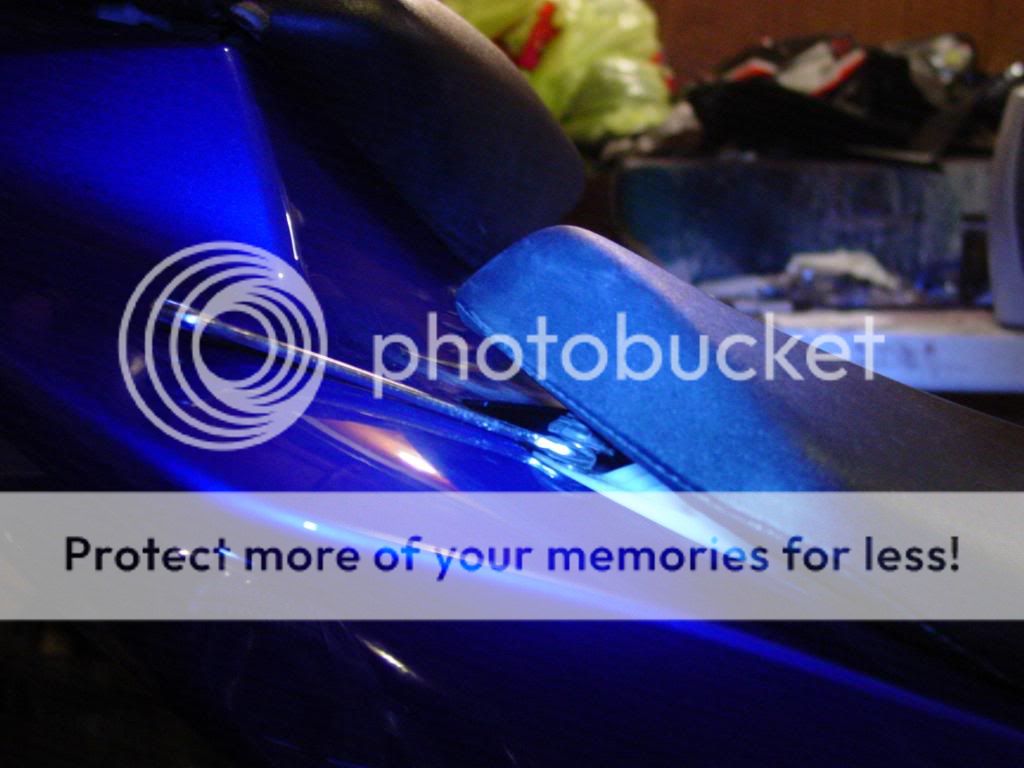
Step 1: using a 10mm wrench remove the 2 bolts on the underside* of the rear of the front seat, it works best to push the seat cushion away from the bolt... be careful not to scratch your tail section, maybe you should put a microfiber towel down to be safe, now that the bolts are removed take the seat off.
![Image]()
---------------------------------------------------------------------
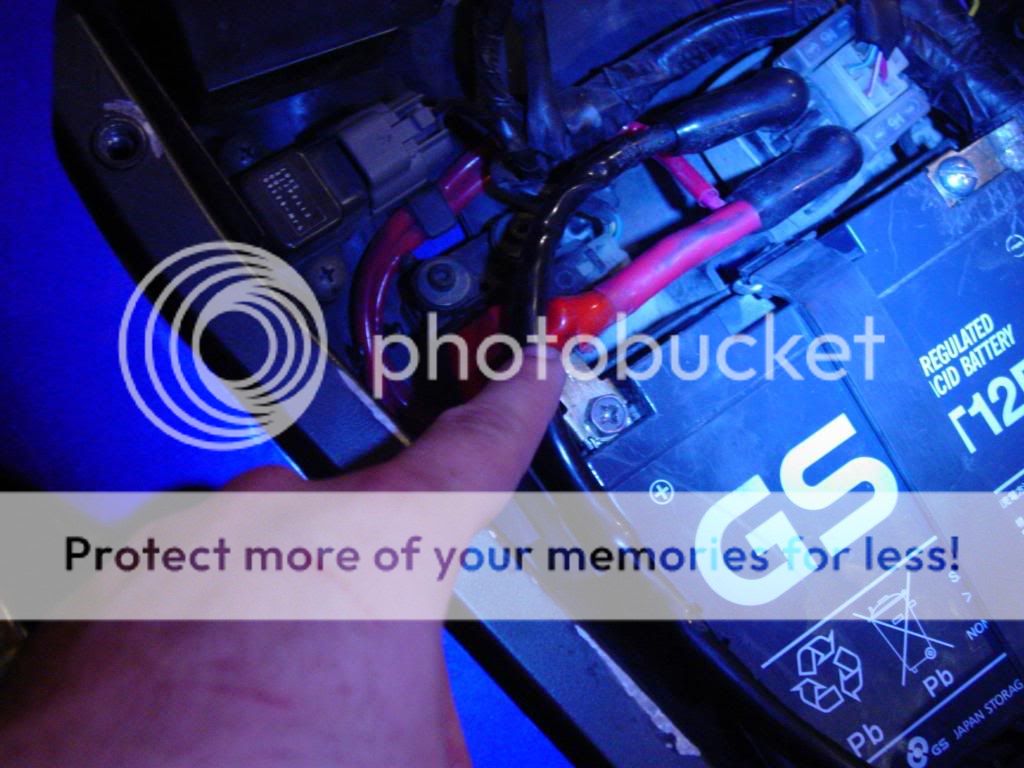
Step 2: using a phillips head screw driver or a 10mm socket, remove the red bettery cable, it is a good idea to place the terminal bolt back on the battery and make it finger tight so you do not lose the bolt
![Image]()
-------------------------------------------------------------------------
Step 3: Using various allen wrenches remove both upper and lower side fairing, carefully remove the turn signal harness connectors on both sides
![Image]()
![Image]()
![Image]()
![Image]()
--------------------------------------------------------------------------------------------
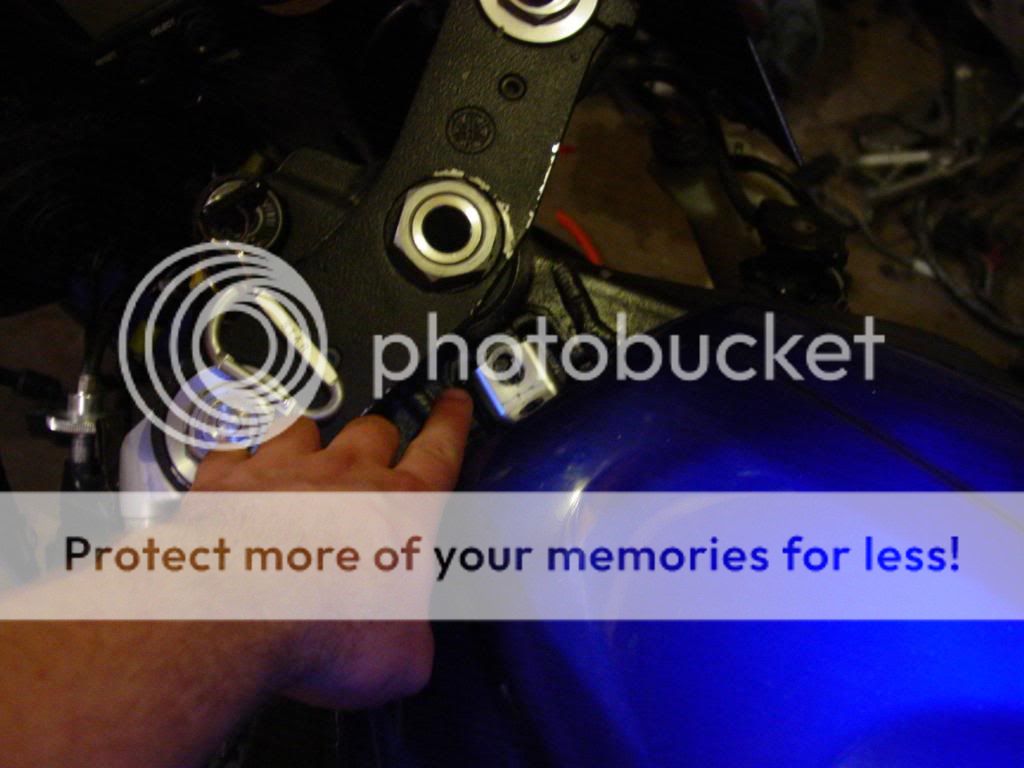
Step 4: remove the front gas tank bolt, it could be a standard bolt or even an allen head bolt,* now lift the tank up, it has a hinge in the back and prop it up so you can work under it
![Image]()
------------------------------------------------------------------------------------------
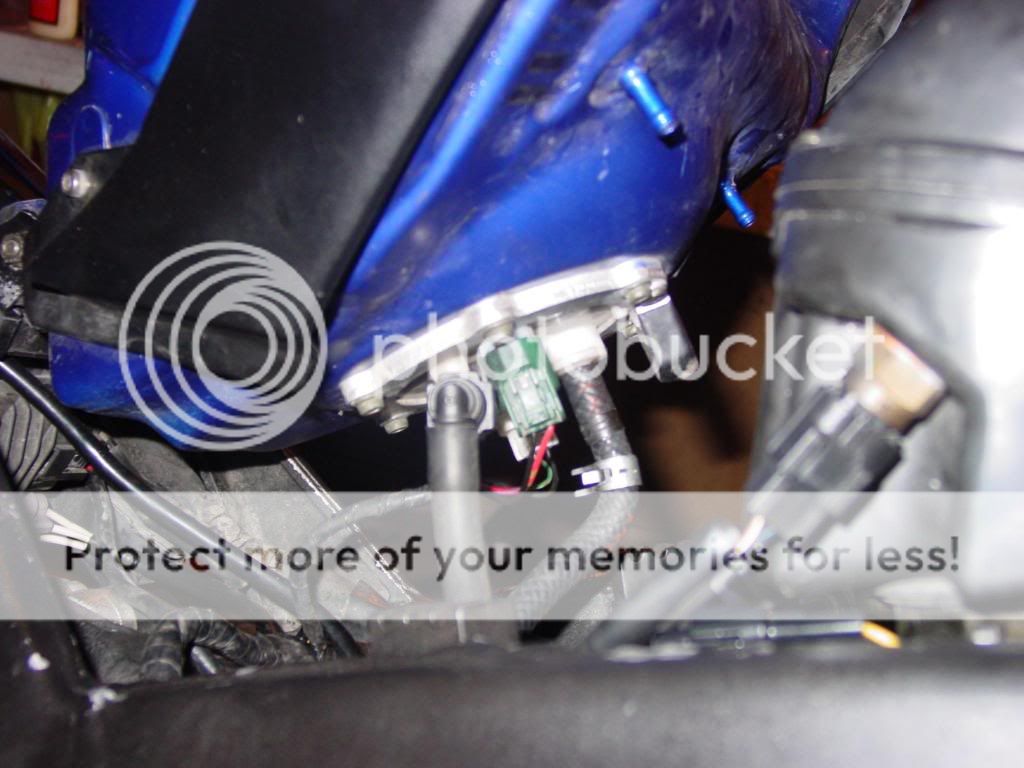
step 5: remove all the wires and hoses attached to the bottom side of your gas tank
![Image]()
---------------------------------------------------------------------------------------------
Step 6: lower the tank back down, using a 10mm wrench and a 10mm ratchet with a 6 inch extension remove the gas tank's rear hinge bolt, then take the tank off the bike anbd set it somewhere safe, it is a good idea to put the bolt and nut back on the bike after you remove the tank
http://i387.photobucket.com/albums/oo311/1cheapr1/bikerebuildwalkthru009.jpg
--------------------------------------------------------------------------------------
Step 7: now its time to remove the airbox there are 3 hoses, and one wiring connector, remove those, now using an allen wrech lossen the clamps under the air box, there are 4 clamps, now remove them(some people just pry the air box off)
[IMG]http://i387.photobucket.com/albums/oo311/1cheapr1/bikerebuildwalkthru010.jpg
![Image]()
----------------------------------------------------------
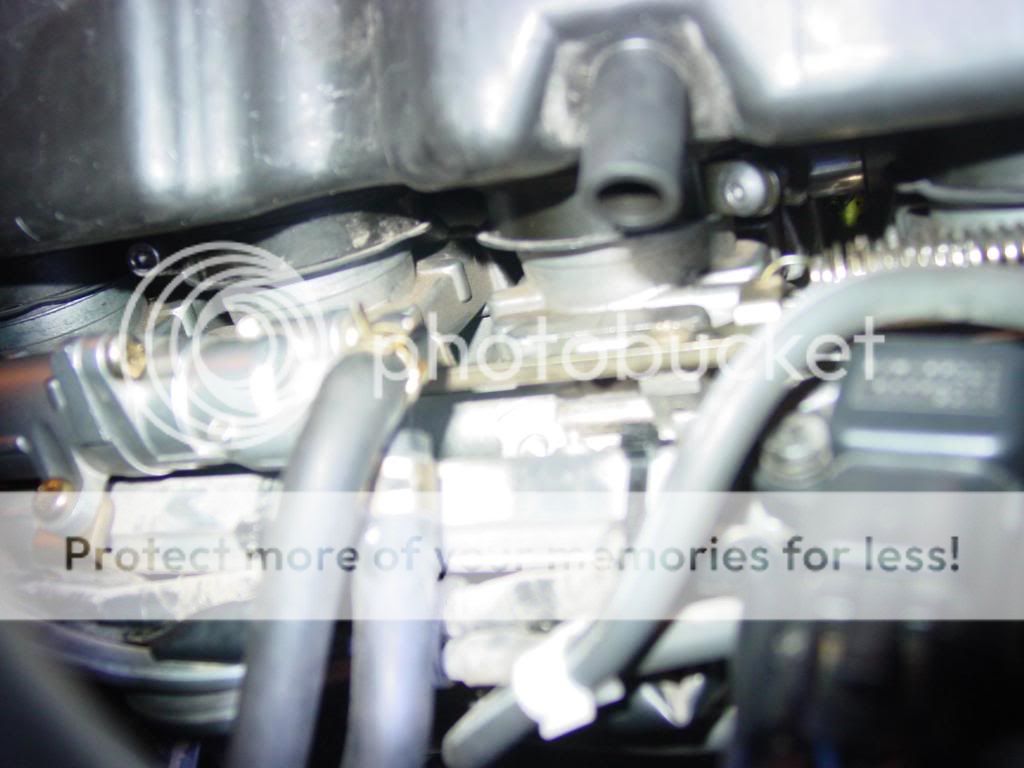
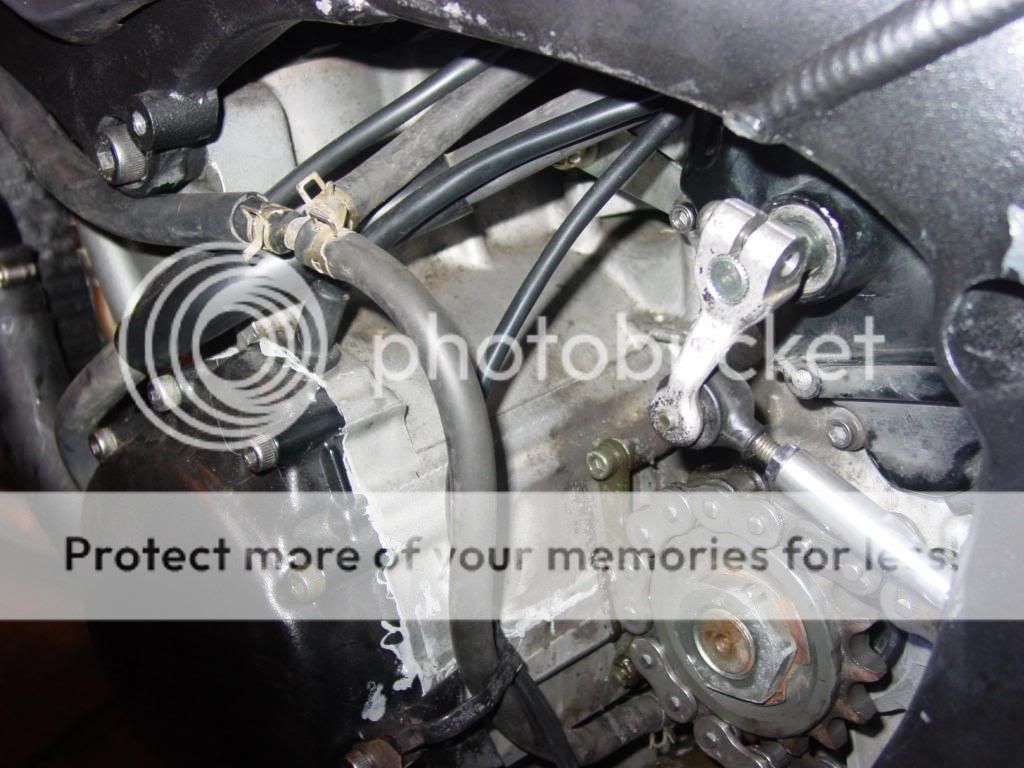
step 8: using an allen wrech or an allen socket, swivel attachment and 12 inch or longer extension on the left side of the bike lossen the clamps under the throttle bodies and set them carefully to the side(see the pictures for the assec point, some people just pry off the throttle bodies, its your call)
![Image]()
![Image]()
------------------------------------------------------------
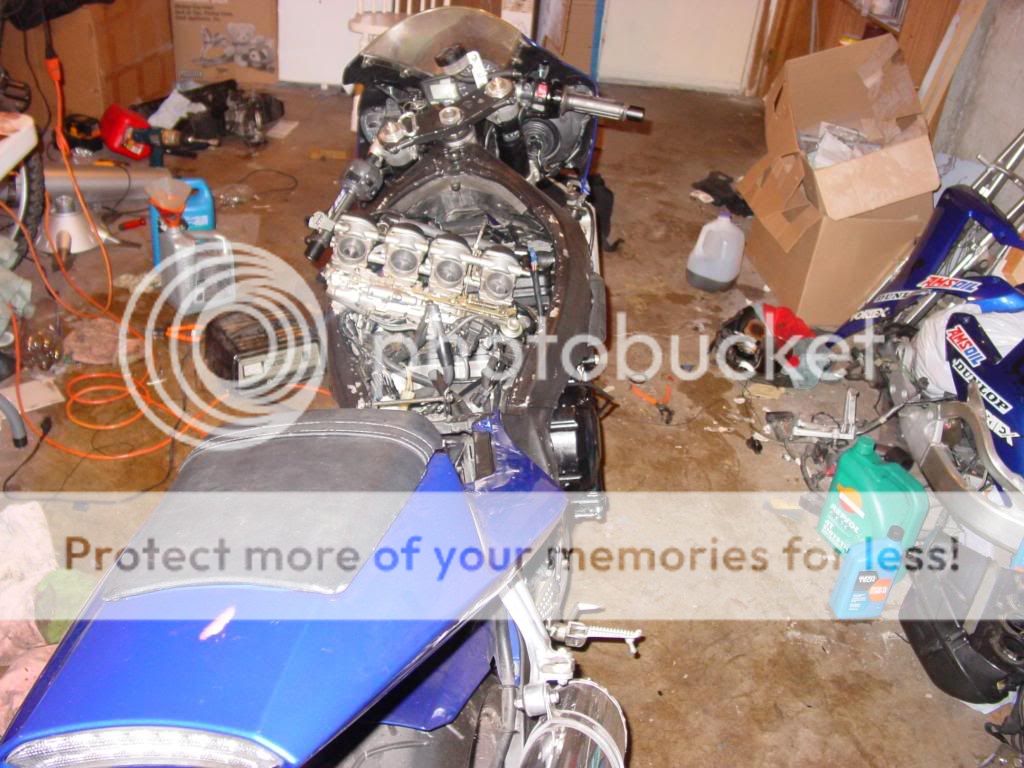
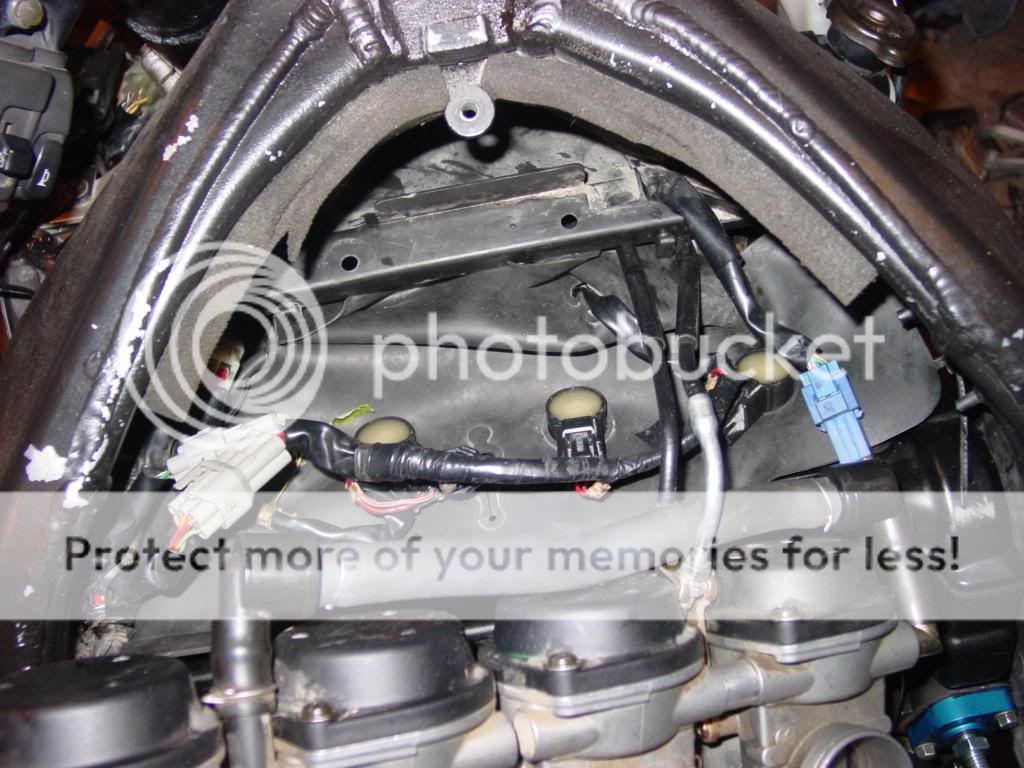
Step 9: now remove the wiring in the picture, 4 coils, 4 coil wires and 2 sensors all in the same wire loom, remove the rubber blanket aswell
![Image]()
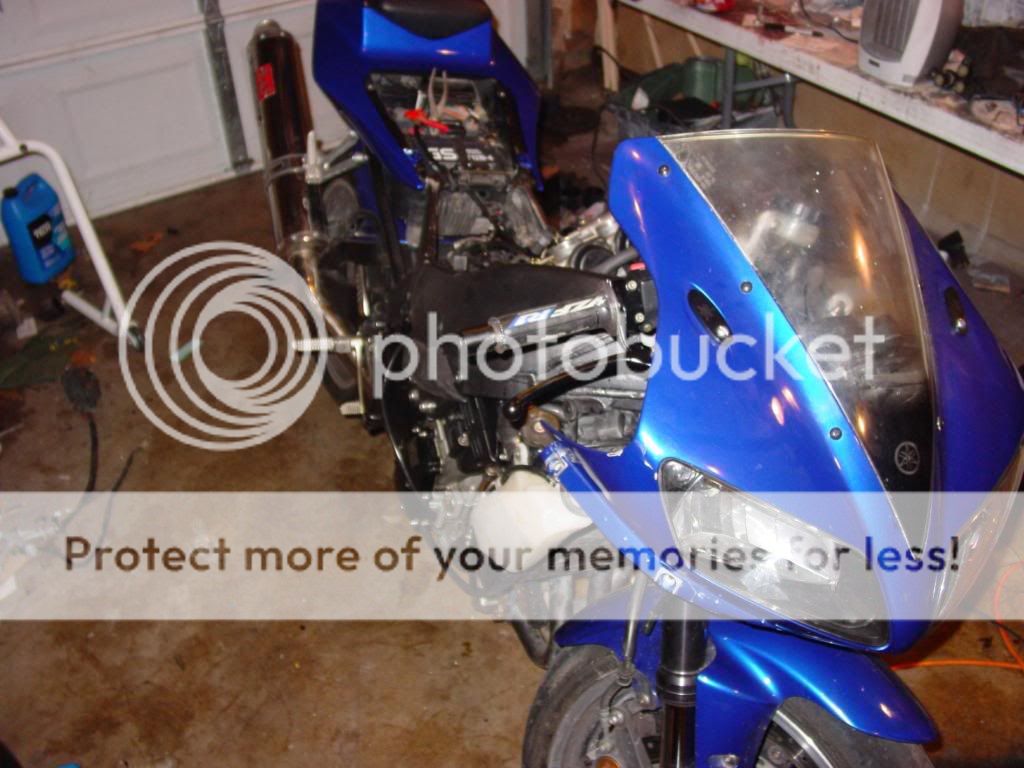
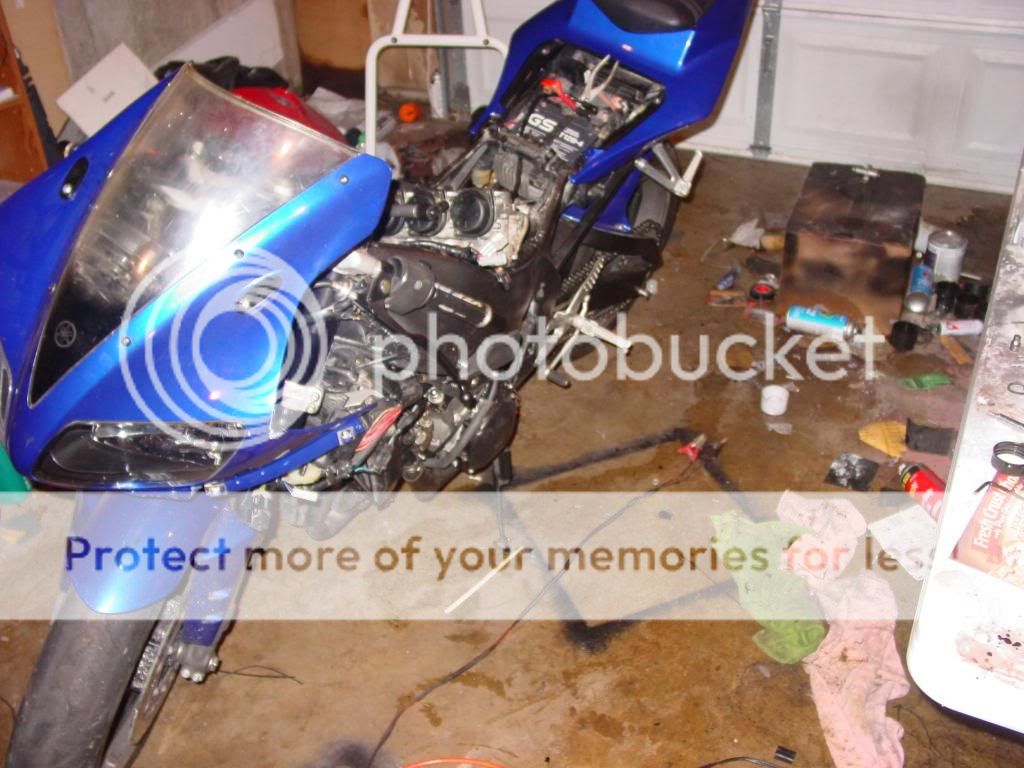
Now i took a break, so your bike should look about like this now:
![Image]()
![Image]()
![Image]()
ok so i only had around 30 mins today so here is what i got done
Step 1: using a 10mm wrench remove the 2 bolts on the underside* of the rear of the front seat, it works best to push the seat cushion away from the bolt... be careful not to scratch your tail section, maybe you should put a microfiber towel down to be safe, now that the bolts are removed take the seat off.
---------------------------------------------------------------------
Step 2: using a phillips head screw driver or a 10mm socket, remove the red bettery cable, it is a good idea to place the terminal bolt back on the battery and make it finger tight so you do not lose the bolt
-------------------------------------------------------------------------
Step 3: Using various allen wrenches remove both upper and lower side fairing, carefully remove the turn signal harness connectors on both sides


--------------------------------------------------------------------------------------------
Step 4: remove the front gas tank bolt, it could be a standard bolt or even an allen head bolt,* now lift the tank up, it has a hinge in the back and prop it up so you can work under it
------------------------------------------------------------------------------------------
step 5: remove all the wires and hoses attached to the bottom side of your gas tank
---------------------------------------------------------------------------------------------
Step 6: lower the tank back down, using a 10mm wrench and a 10mm ratchet with a 6 inch extension remove the gas tank's rear hinge bolt, then take the tank off the bike anbd set it somewhere safe, it is a good idea to put the bolt and nut back on the bike after you remove the tank
http://i387.photobucket.com/albums/oo311/1cheapr1/bikerebuildwalkthru009.jpg
--------------------------------------------------------------------------------------
Step 7: now its time to remove the airbox there are 3 hoses, and one wiring connector, remove those, now using an allen wrech lossen the clamps under the air box, there are 4 clamps, now remove them(some people just pry the air box off)
[IMG]http://i387.photobucket.com/albums/oo311/1cheapr1/bikerebuildwalkthru010.jpg
----------------------------------------------------------
step 8: using an allen wrech or an allen socket, swivel attachment and 12 inch or longer extension on the left side of the bike lossen the clamps under the throttle bodies and set them carefully to the side(see the pictures for the assec point, some people just pry off the throttle bodies, its your call)
------------------------------------------------------------
Step 9: now remove the wiring in the picture, 4 coils, 4 coil wires and 2 sensors all in the same wire loom, remove the rubber blanket aswell
Now i took a break, so your bike should look about like this now: