Yamaha R1 Forum: YZF-R1 Forums banner

Pbnut's 17 R1 Track Build

151K views 434 replies 65 participants last post by  IamLa  
#1 ·
Greetings forum!
I've been lurking around here quite a bit for about 8 months. You see, I sold my R6 this past December with plans to buy myself a new R1 for racing.
If anyone cares to check it out you can see that build over on the R6 forum by clicking here.
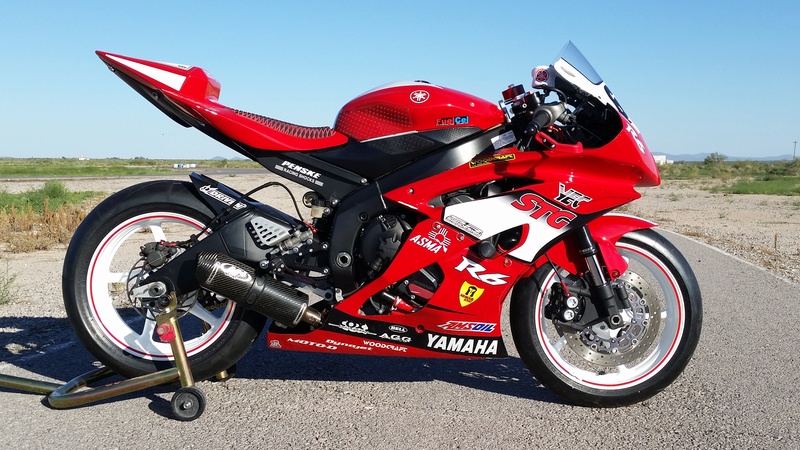
Here's that bike:

Image


I just got home from 6 months abroad and picked up my brand new 2017 R1. Zero miles on the dash. :icon_cool:

Image


Waiting for me at home was a decent pile of parts as well.

Image


I've had some time to wait for deals on parts, some used, some new.
It's not easy to see it all, but the current parts pile contains:
  • Graves full titanium exhaust
  • Graves captured wheel spacers, front and rear
  • Graves AIS block off plates
  • 90* valve stems
  • K-Tech DDS Pro shock w/ .95 and 1.0 springs
  • 1.6 bar radiator cap
  • Woodcraft frame sliders
  • Moto-D magnetic drain plug
  • TWM clutch perch and lever
  • Evotech carbon lifters and toe guard
  • SE Composites V2 tank shroud
  • Sprint carbon fairing stay/intake with P16 filter
  • BPP Superleggera 520 15T sprocket

And now we wrench.
"Doctor, the patient is prepped for surgery."
Let's trim some fat.

Image


I'm a weight snob, so I've been weighing parts as I remove them.
These titanium subframe mount bolts are a carry-over from the R6. Saved 3.3 ounces.

Image


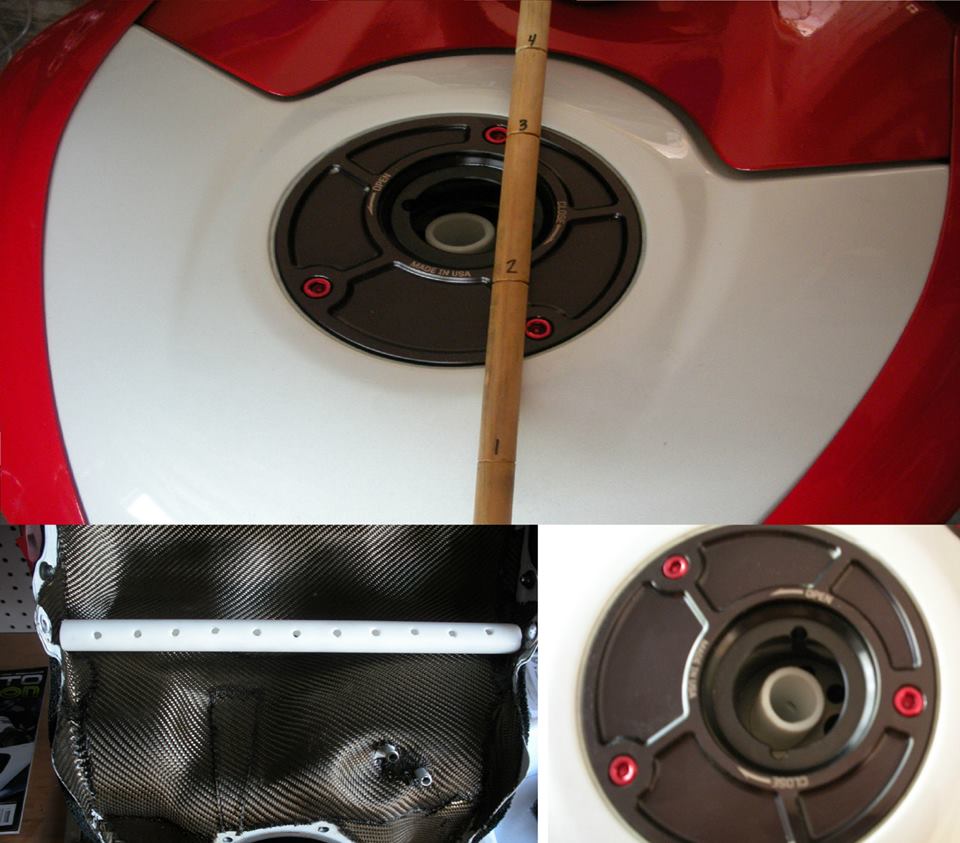
Present status: bodywork all removed, and trying to figure out how to get the headlight assembly and all that junk off or out of the way.

I need to get these OEM bits posted for sale to help fund the go-fast bits.
 
#2 ·
Welcome back home brother! :thumbup Assume you're in one of the branches, if so which one?? I'm a USAF 1st Sgt stationed out here at MacDill AFB.

Great start to the build, can't wait to see it continue!
 
#5 ·
Sub'd
 
#6 ·
Nice pick up! Can't wait to enjoy the build thread! I just noticed that you're lifting the bike from the swingarm. If you havent ordered any spools yet (if you plan on using them) I have a set of used Graves spools I can send your way, just pay for shipping. They are just sitting in my room ever since I'm using the Superbike Unlimited lifters.

Dara
 
#11 ·
I'm in a bit of an awkward spot with this thing already. Most of the parts on hand require something else be bought, or changed before I get to installing them.
One of the things that can go on freely is the Woodcraft frame savers, purchased here on the forum. Thanks @Flexxx

Engine supported with the jack since I've read of a few issues where folks removed the bolts and had issues aligning the holes to reinstall the Woodcraft supplied bolts. I had zero issues.

Image


Image
 
This post has been deleted
#12 ·
Thanks! I bought the house middle of last year. The garage was completely unfinished, and only a single dome light fixture in the center of the ceiling. LAME.

I got to work a short while later cleaning up the walls, filling, priming, and painting (semi-gloss white I think it was). Once paint was done I had an electrician out to the house to branch some boxes off that one light fixture. Then I had the floor epoxied. I love it. The six 4' LED light fixtures came from Home Depot. They throw a lot of light, and coupled with the white walls and glossy floor it's very bright in there which is great for working on bikes, our vehicles, etc.

Pictures are straight off my Galaxy S5.

Image
 
#15 ·
Got a package yesterday courtesy of @SPEEDCELL.

This thing is light.... 2.5ah Legacy series lithium battery.

Image


Bike specific harness included. :icon_biggrin:

The weights:

Image


Image


I started trying to install it all, but ran into more work than I had time for. It seems the OEM negative lead branches off into the harness just forward of the ABS module. In order to remove that negative lead I'll have to break into that harness and see where it's headed and whether it's needed.
 
#16 ·
I sold the brand new OEM brake pads the other day, and went to Kurveygirl.com ("Motorcycle stuff... Not porn!!!") to purchase my preferred pads. These folks support my local race club so I support them.
They include a sanding block with every brake pad purchase so you can clean up your rotors before setting off with your new pads.
In my case that won't be necessary though. These rotors have zero miles on them. :icon_mrgreen:
Waiting on some hardware before I install them.

Image
 
#21 ·
I have yet to read about any real racers retaining ABS on this bike. I've never had ABS on a bike before, and I don't intend to start now. All ABS bullsh!t has now been removed and the flashtune ABS delete plug installed. Inquiries are out on replacement brake lines.


Image


Six pounds of junk removed.


Image


Did you use the newest plug for abs removal I been playing with the idea but I won't do it till there is a system that leaves no err, no abs light no nothing like it was still there till then I can't see OCD being ok with any lights being on my dash


Sent from my iPhone using Tapatalk Pro
 
#25 · (Edited)
I've come to the realization that I can't buy all the expensive bits at once.
The Sprint carbon intake doesn't have the clearance to work with the OEM steering damper. The plan is to go GPR top mount eventually, but they're $$$. :frown:
The carbon intake also requires some fitting that I don't particularly want, or need, to do now. With that in mind I removed the flapper and valve from the OEM intake and fabricated a plug for the hole. It's just some kydex I had lying around the garage. One side is textured which I faced down for extra surface area for the rtv I used to stick it in place. Came out pretty decent I'd say.

Image


Image
 
#27 ·
I"m running out of things to do while I wait for stuff to come in.
One thing that struck me today while I stared at the bike was safety wiring. The drain plug will get swapped during the first oil change, but the fill plug was ready to be worked.

A small hole to accept the pin, and the slightest countersink to make finding the hole that much easier. :p
It's all in the details.

Image


Wire on, and some silicone tubing slipped over to protect painted surfaces. Picked up the tubing at the local hobby shop.

Image
 
#28 ·
A bit of work done today.

Skeletonized front sprocket cover. Where is the sprocket you say? It's removed to make way for the replacement.

Image


My tank foam arrived today.

Image


Wow this fuel tank is light. Even the fuel pump is tidy little thing.

Image


Before anti-slosh foam.

Image


After foam, and with just enough space for the fuel pump.

Image


"But Dan, how will you know how much fuel you have???" Glad you asked. I did this with my R6 too, and had some material left over. It's 3/4" PEX tubing, resistant to gasoline, available at your local big box store.

Image


I cut a section to length, drilled a bunch of holes in it, inserted it through the fuel pump hole and into the filler hole. I stuck one end over one of the nut humps protruding into the tank so the bottom end stays put. Then I packed all the foam in there.
To determine a fuel level I use a wooden dowel marked for every gallon. With the tank empty I pour one gallon of gas in, run the dowel to the bottom, remove, mark the wet level (I semi crimp it with some snips so there's nothing to wash away). Repeat for each gallon and voila. Here's the picture of the one I had for my R6 (since I didn't take pics of this one).

Image
 
#29 ·
I was going to hold off on installing the Graves full titanium exhaust until I bought some more titanium hardware, but I've already overextended myself a bit as is. That said, today I set to work installing the exhaust.

We all know what the OEM stuff looks like. Removing all that crap took 22.5 pounds off the bike.
The Graves kit added back 6.6 pounds. That's a net savings of 15.9 pounds!

This is some nice kit.

Image


Image


These both needed safety wiring. Why not tie them together?

Image
 
#32 ·
We also got some reaaaaally cool pieces for the R1 /M in, which we will post here later on this evening or by tomorrow.
You've piqued my interest good sir.

What did you use to skeletonize your sprocket cover?
Dremel. I've got a drill bit that fits in there, and whether it's designed to or not, I used it like a router bit cutting with the sides/flutes. It worked pretty well so long as I was careful. Sometimes it would bite and really dig into the plastic.